
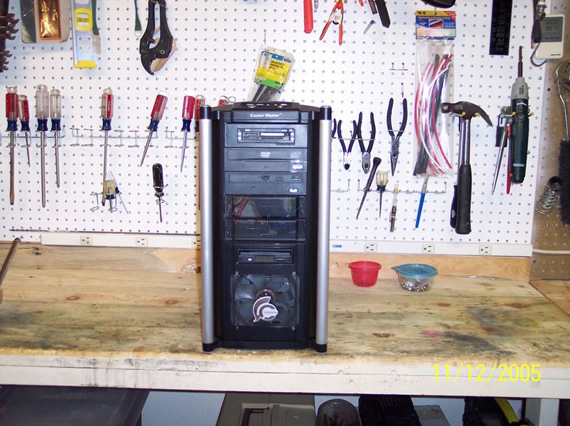
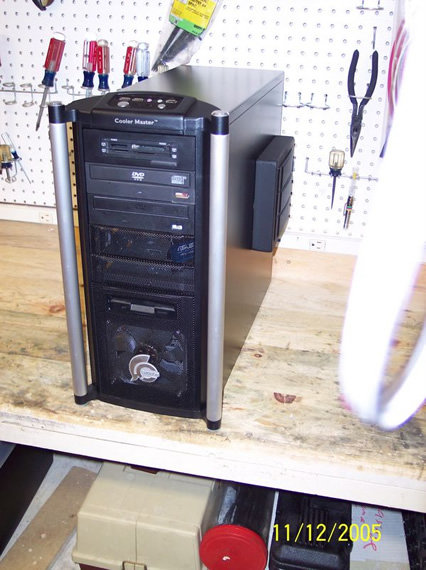
This is my new Cooler Master case. It’s a nice case but for my mother board and CPU I need some alterations. What follows are some photos of the case modifications I had to make to keep my Pent D 3.2Ghz chip cool and at the end I added something extra cool.
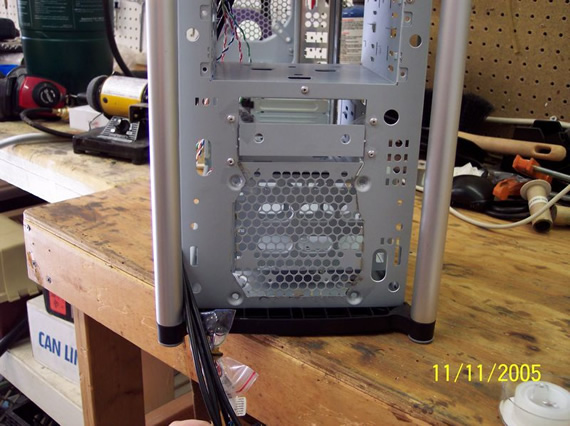
First thing to change is the back of the case where the motherboard attach’s. The only way to service or change the CPU cooler nowadays is to be able to access the back of the motherboard but once the board is in the case you can’t access the mounting screws for the CPU cooler on the back of the motherboard.
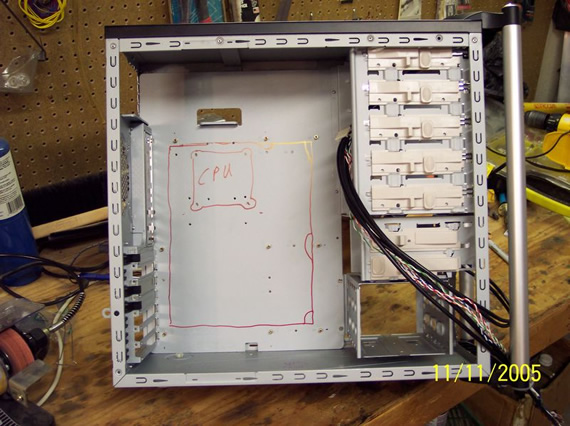
I have marked where the CPU will be so I could do one of 3 things. 1) drill holes for screw access. 2) cut out the area marked CPU. 3) cut out the full area of the motherboard just inside of the motherboard mounting screws.
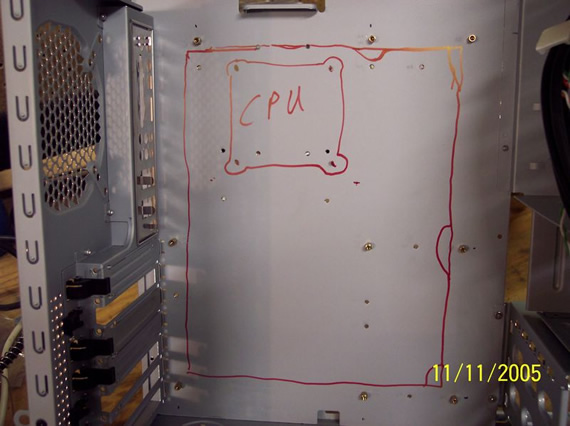
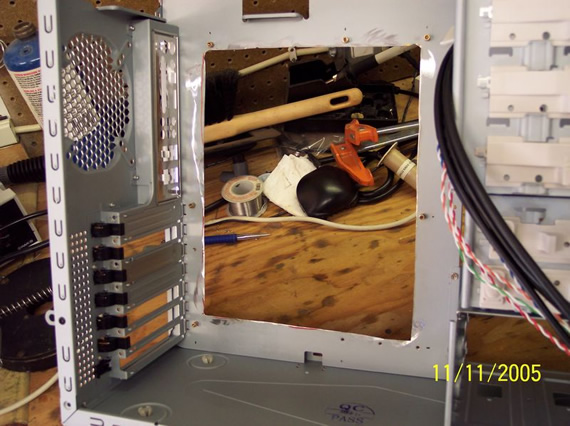
I picked the 3rd option because my Pent D 3.2 GHz CPU puts out a ton of heat. This will make accessing the CPU cooler screws a cinch and will allow for extra cooling of the backside of the motherboard. This is very important for the Asus motherboard I picked as you will see later.
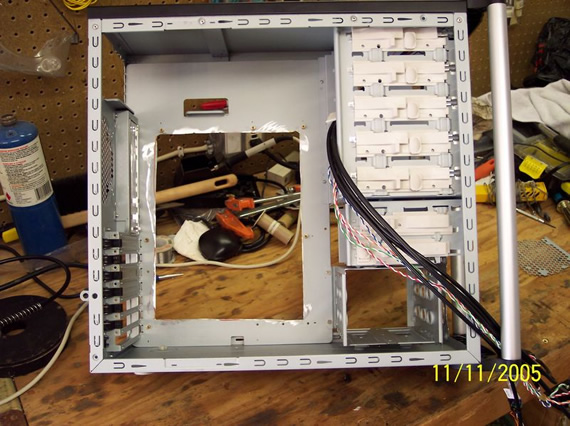
I used an air nibbler to cut this out and here you can see I ground the edges so I wouldn’t cut myself.
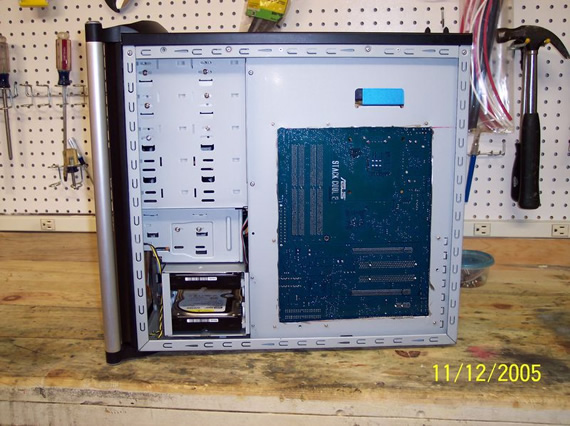
If you can read sideways the back of the Asus motherboard reads “Stack Cooler 2”. Per the manual this is a built in CPU cooler that radiates heat off the back of the motherboard to help cool the CPU. Now you see why it’s so important to be able to have air flow over the back of this motherboard. Without this mod there would be not way for this excess heat to effectively vent.
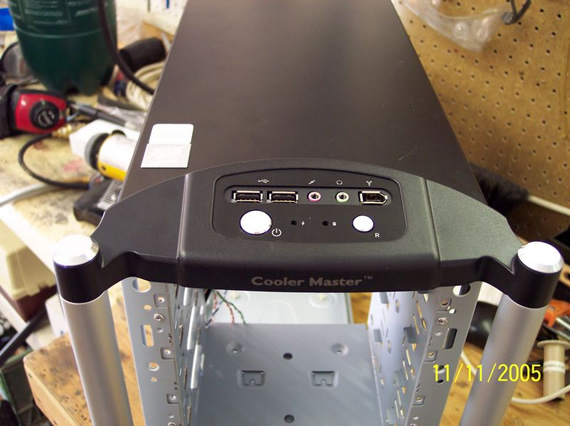
I love this box because it comes with all the important controls and connections right up on top for all important easy access. I wouldn’t buy a box nowadays without such easy access.
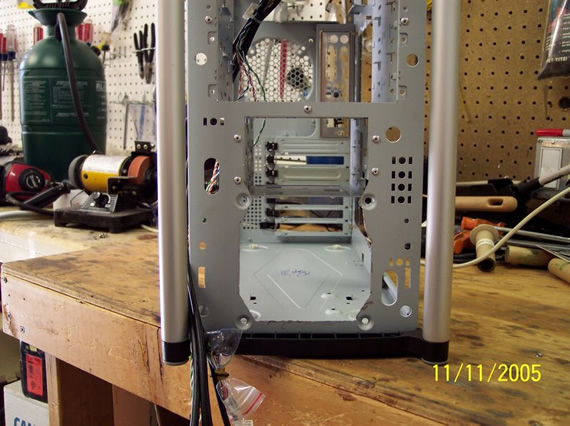
Another custom change I want is to mount a large fan up front on the bottom. The mounts are there but I want the fan in font of the steel not behind and for that mater I don’t want the steel effecting air flow at all.
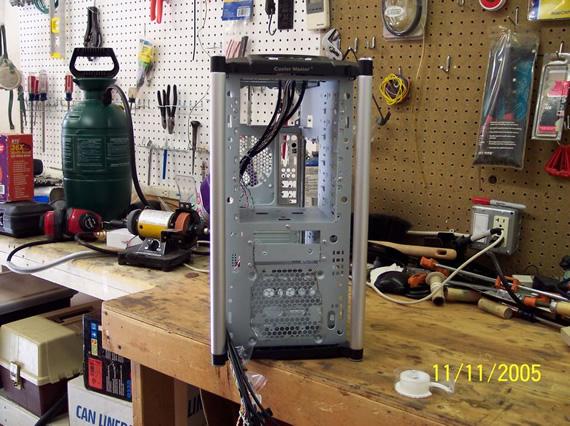
used a small cutoff wheel to cut out this area of steel I didn’t want. You can see the cuts below, just have to pop out the section and it’s ready for a fan.
OK, that bit of steel is out of my way and this gives easier access to the fan connections and wires. I’m not sure why they insist on using so much metal in these cases, I’m not going to use it as a table leg or anything like that.
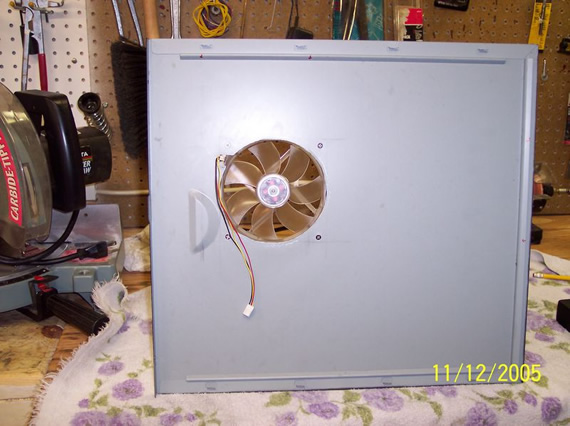
Remember that backside of the motherboard? Well I used my nibbler to cut out a hole for another fan on the back panel. This way I can guaranty that air is flowing over that built in “Stack Cooler”. Maybe not a needed mod but my tests show this CPU runs very HOT! This is the Pent D before they made the changes to run cooler so I have to deal with it.
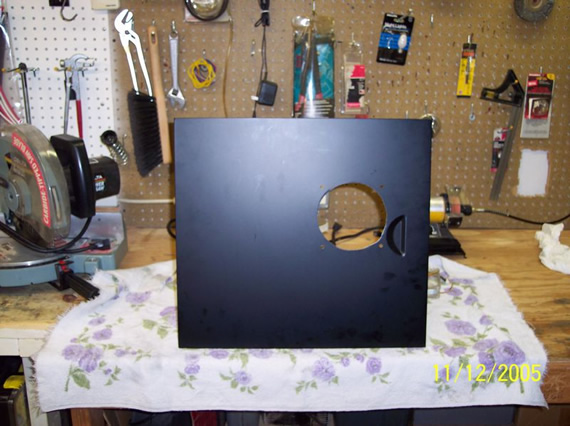
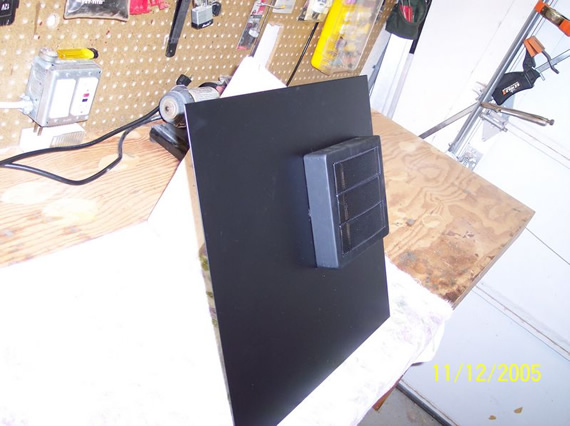
The fan will have to be on the outside of the side panel. I have small kids so I will need to do something to cover the spinning blades of death. :)
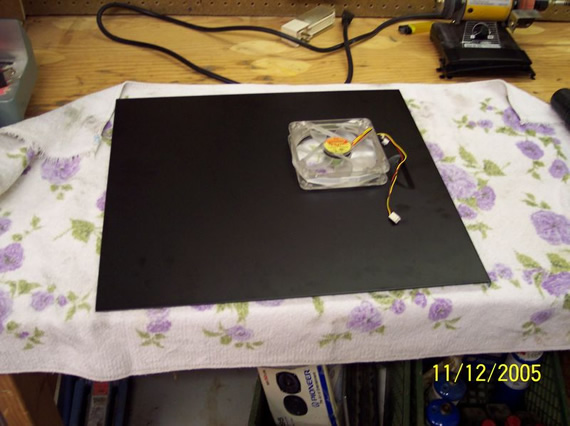
A little extra cut for the wire and some screws and the fan is mounted.
Some old school miter joints on some scrap wood makes for a good fan shield. Black paint and hang it up to dry.
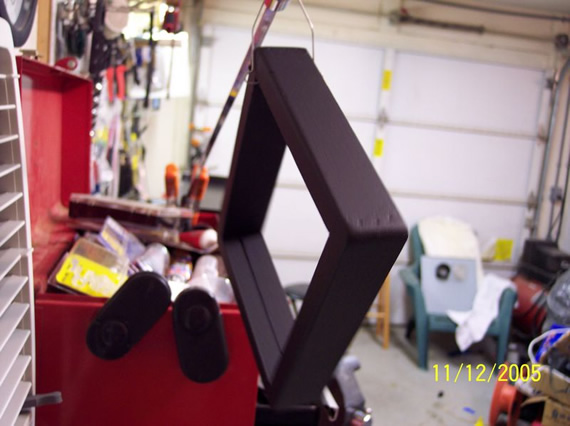
I used some wood screws to fasten the shield around the fan.
Looks good but needs a cover.
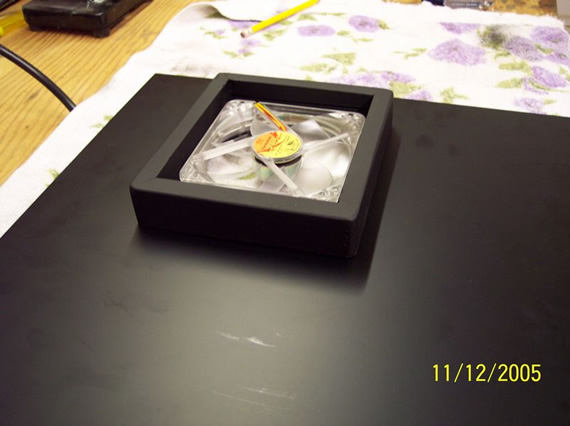
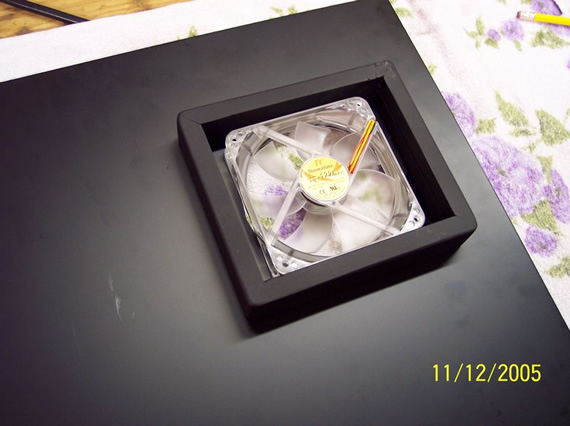
When I made the wood shield I made it the exact dimension of three drive bay coverings. These drive bay covers came from the front of this case, which I don’t need anymore because I’m putting in 2 CD/DVD’s and one card reader. They had vent holes so I just figured I might as well make use of them, Lucky me. :)
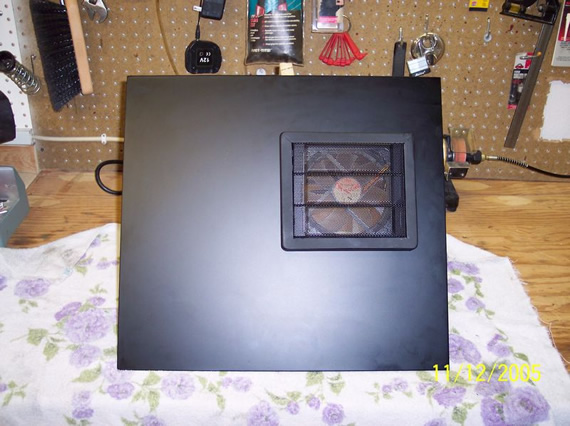
With the black paint and re-purposed drive bay covers this fan shroud doesn’t look half bad.
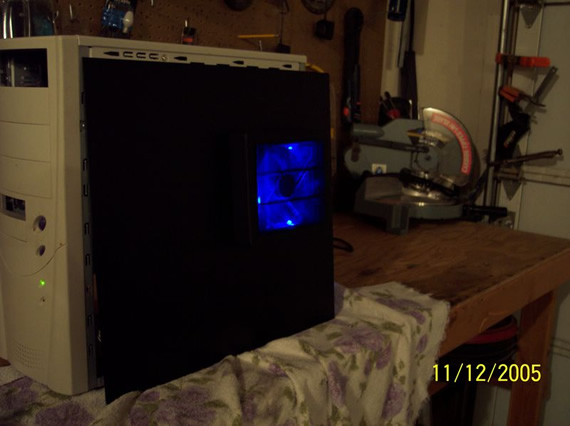
I plugged the fan into an old case to test it and see just how blue it was.
In the dark the whole room gets a cool blue glow. Being all my fans on this box are upgraded to this blue fan my computer room is going to cool itself with just the cool blue. OK, I’m an Engineer and I know it’s going to be a ton hotter with all the computers and fans but maybe the cool blue will make it seem cooler? :P

Side view of the cool blue fan.
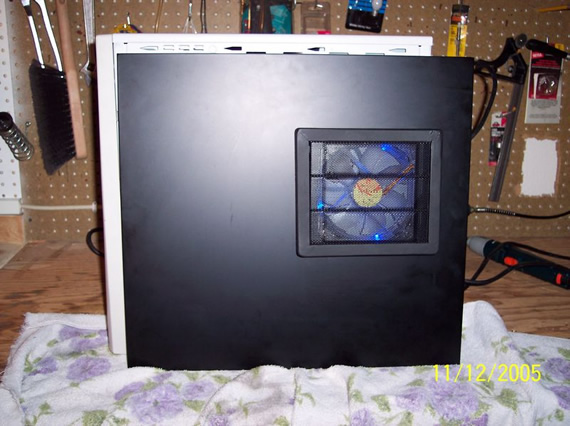
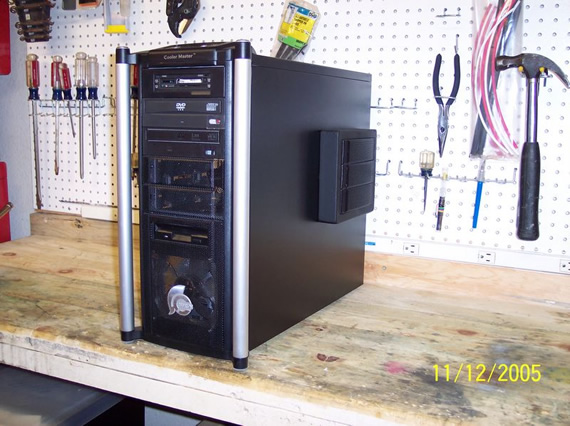
All back to together and the wart on the said is kind of ugly :( but it serves a very important purpose.
Maybe the wart will grow on me… pun intended of course :)
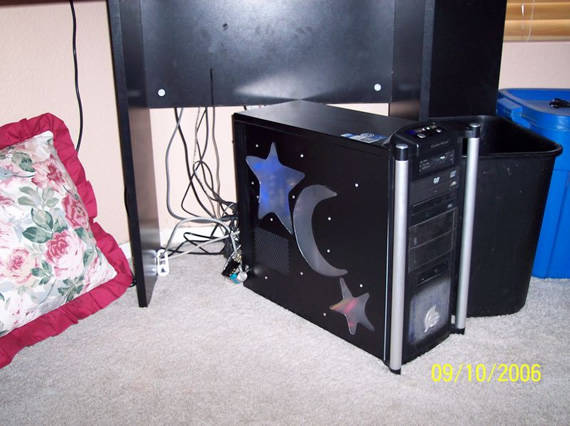
The bottom photo is the same box about a year later where I cut out moons and stars in the side panel so I could show off all the lights inside. It seemed a shame to have 3 blue LED lit fans inside and a Christmas Tree light bar on the memory sticks and not be able to see it all. After cutting out the patterns I fastened a sheet of Plexiglas on the inside using pop rivets. I used sandpaper to fog up the glass and the pop rivets look like a starry sky. This really looks cool at night!

Links for Beginners in Electronics }:-)
Archives
- April 2017 (1)
- March 2017 (3)
- December 2016 (1)
- November 2016 (3)
- October 2016 (2)
- September 2016 (2)
- August 2016 (4)
- June 2016 (1)
- May 2016 (6)
- April 2016 (1)
- March 2016 (3)
- February 2016 (4)
- January 2016 (3)
- December 2015 (1)
- November 2015 (5)
- September 2015 (1)
- July 2015 (2)
- June 2015 (6)
- March 2015 (1)
- January 2015 (2)
- December 2014 (2)
- November 2014 (4)
- October 2014 (2)
- May 2014 (1)
- March 2014 (5)
- February 2014 (3)
- January 2014 (1)
- September 2013 (2)
- August 2013 (1)
- July 2013 (4)
- June 2013 (3)
- May 2013 (2)
- April 2013 (1)
- March 2013 (3)
- February 2013 (2)
- January 2013 (2)
- December 2012 (1)
- November 2012 (8)
- October 2012 (5)
- September 2012 (1)
- August 2012 (1)
- July 2012 (2)
- May 2012 (2)
- April 2012 (1)
- March 2012 (3)
- February 2012 (2)
- December 2011 (2)
- November 2011 (4)
- October 2011 (1)
- September 2011 (1)
- August 2011 (2)
- May 2011 (2)
- April 2011 (2)
- March 2011 (2)
- February 2011 (2)
- January 2011 (1)
- December 2010 (2)
- November 2010 (2)
- July 2010 (3)
- June 2010 (2)
- April 2010 (1)
- March 2010 (1)
- February 2010 (2)
- January 2010 (1)
- December 2009 (2)
- October 2009 (4)
- March 2009 (1)
- December 2008 (1)
- November 2008 (1)
- August 2008 (1)
- April 2008 (1)
- March 2008 (1)
- February 2008 (1)
- June 2007 (1)
- November 2005 (1)
- April 2005 (1)