Archive for October, 2012
My son Alex and I spent the past two evenings working out the bugs on some new Halloween Fog Machine hacks for his graveyard. We tested many viewer tips from the last blog video and some configurations of our own. We came up with a whopper of a Bazooka looking Spooky Halloween Fog Machine. In the video we first give a build description of the final working fog bazooka and then show it in action in our Halloween graveyard. The first 7 minutes have the good stuff and the rest of the video is just clips of all the iterations we tried that didn’t work quite as well as the final bazooka design.
Update 2/10/2014 – A reader also recommended using better fog fluid: American DJ Fog Fluid or Chauvet.
This is super easy to build and works GREAT! I have to thank the viewers for such great ideas.
Alex starts off the video by reminding kids to “stay in school!”. Ha
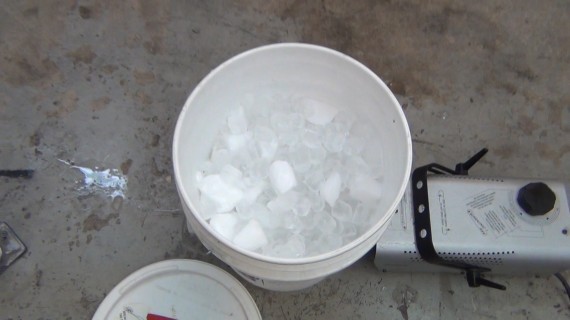
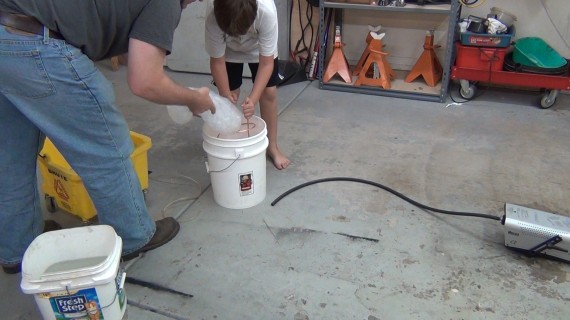
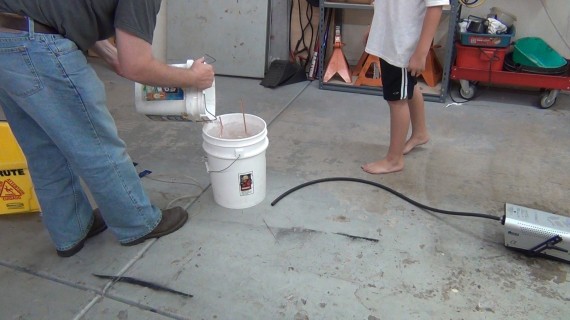
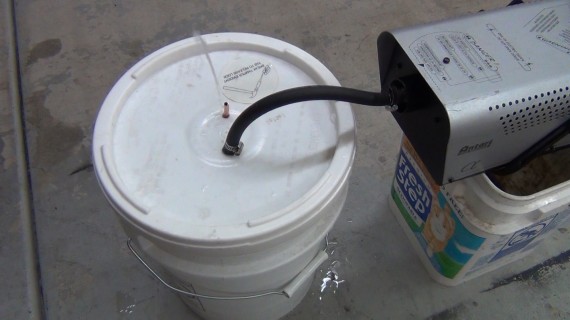
This hack did work with just normal ice only as well as dry ice only but worked best with a 50/50 mix of ice and dry ice. The below 5 gallon bucket is 50/50 ice and dry ice. I picked up 15 lbs of dry ice at our local Fry’s food store. Each 5 lb block is about $5 and last a long time. I used all 15 lbs at once with about an equal amount of normal ice mixed well and filled to about 1 inch below the in/out pipe holes when the bucket is upside down. You don’t have to use a 5 gallon bucket but something that fills to about this level with this amount of ice and dry ice. Once you put on the lid let it set for 10 minutes while the dry ice and ice mix and get the inside real cool!
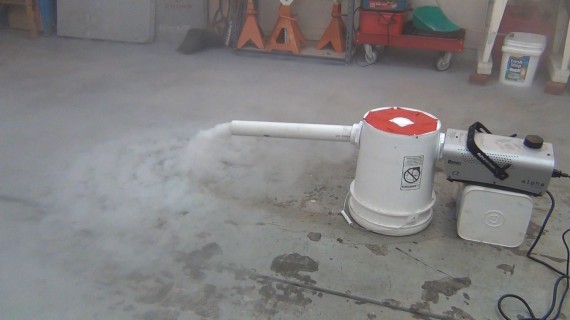
This turned out to be the best configuration. It kind of reminded Alex of a bazooka so we named it a Bazooka Halloween Fog Machine. We had started with the bucket right-side-up and the fog machine and pipe at the bottom but the ice just blocked the holes so we flipped it and it started working GREAT! So you don’t want the ice to be locking the holes.
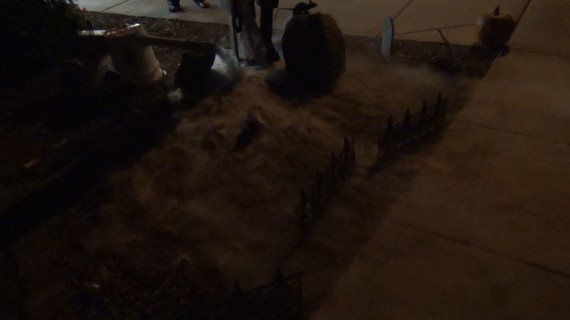
Below is a dark photo of the graveyard with the spooky Halloween fog we can now create. (Click the photo for a hi-res version).
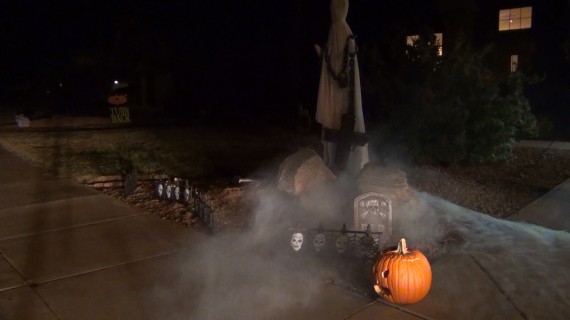
Front view with some lighting. (Click the photo for a hi-res version).
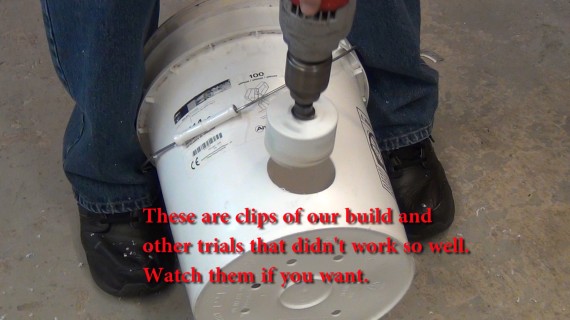
I used a 3 inch whole saw to cut two holes.
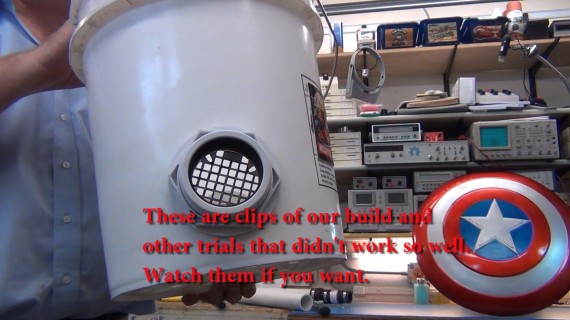
You could stop there but we wanted to try pipes so I put in two shower drains we got at Home Depot. The shower screen does seem to provide some back pressure and resistance but I don’t think this is too critical. Having the out pipe is critical and made a big difference. It seemed to help keep the fog in the bucket longer so it cools longer before finding its way out the 2 foot 2 inch exit pipe. The shower drain adapters made connecting the 2 inch pipe easy but duct tape and a large hose should work. You don’t need to drill the holes in the bottom so I taped them up on our final design.
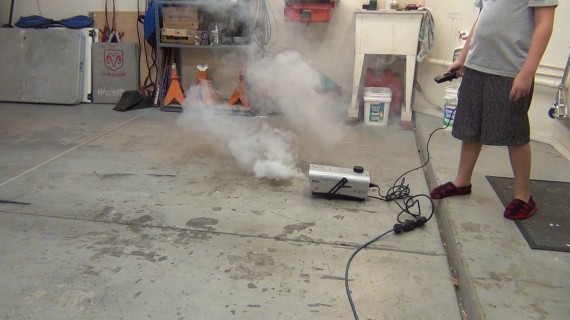
This last photo is just to show that the fog machine on its own will only create hot fast raising fog that doesn’t have that spooky Halloween look that Alex wanted for his graveyard.
Thanks for joining and remember to subscribe to my YouTube channel and my ToddFun.com RSS feed.
Spoiler: This hack didn’t work! But the 2nd build did work! Click to see working Bazooka Halloween Fog Machine
I wanted to convert my commercial fog machine that fills a room with a fine fog but can’t be used outdoors into a spooky low ground fog machine. I have seen others on YouTube do this with dry ice. I wanted to do it with just a bucket of normal ice with maybe salt water mix to chill the 200 degree C smoke that comes out of my machine. Then the smoke should hang low to the ground in our outdoor Halloween graveyard.
This is my fog machine.
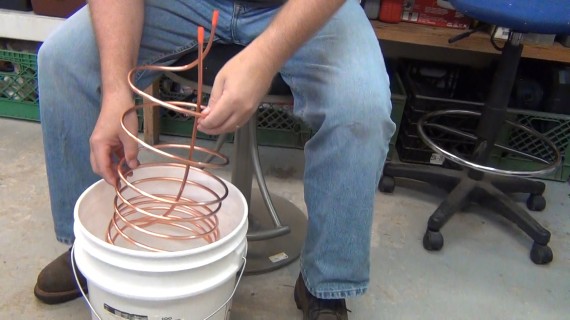
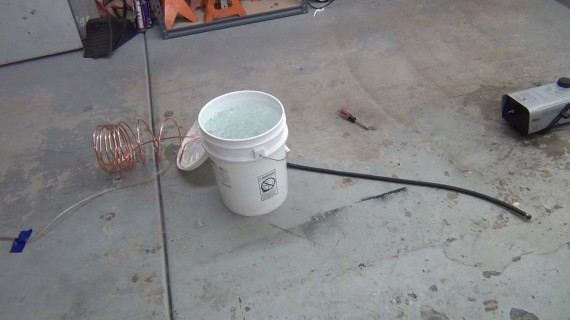
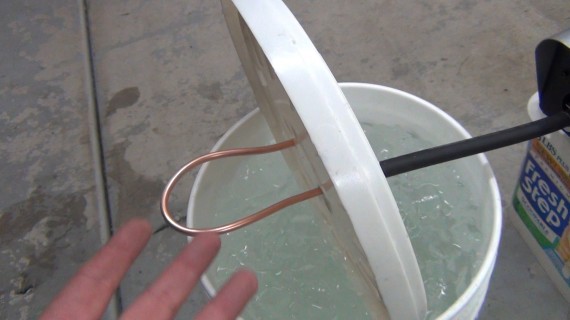
My idea was to pipe the fog into this coil in a bucket.
Add some ice.
Add some salt water so the mix will help keep the coils real cold.
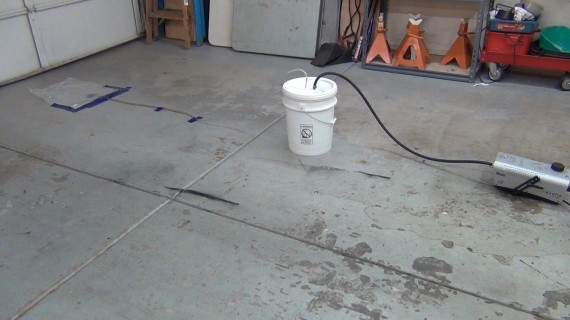
Hook up the fog machine to the chiller and let the cold smoke start lofting out from under the plastic sheet taped to the garage floor.
FAIL!!! All that happen is I chilled my fog back down into a liquid and then plugged up the coil.
I tried a shorter loop.
Nope!! It too just spat out fog liquid.
In the end of the video I explain my failure and how the others on the internet using a fog machine like mine and got it to work. The hot fog is just warming their dry ice they have in a bucket and the dry ice fog is what you see coming out the other side of their rigs. You don’t need a fog machine to make that work, just a blower, box of dry ice and something to warm the dry ice. I guess it works but not the way I thought it was working. Here is a link to a hack where somebody used a similar fog machine and a box of dry ice. YouTube link: Low Fog Machine – Ground Fogger
But really if you’re going to use dry ice than just do like Kipkay did and build a Mighty Mini Fog Maker because that is all you are really doing anyway. Just heating dry ice and blowing it out a hose.
Thanks for joining and remember to subscribe to my YouTube channel and my ToddFun.com RSS feed.
I show how I replaced my broken garage door spring. This is VERY DANGEROUS so don’t try this yourself! You could kill yourself if you do something wrong. The spring is loaded with energy when in the down position and thus assists the garage door motor when opening. The weight of the door will load the spring when closing. Without a lift spring the motor either couldn’t lift the door or would burn up trying.
My door was made by Wayne-Dalton and they cut and sell the new torsion springs right at their Tempe, AZ store where I got mine.
Wayne-Dalton Residential Garage Doors 402 West Geneva Drive Tempe (480) 966-4577 http://www.wayne-dalton.com/index.html
Each spring cost $75 and are made from long life cycle spring stock not the junk spring stock the contractors quote you for their bottom line repair price over the phone. The springs are sized, cut and matched, if more than one, to your door so that the loading equation is always the same. One full spring rotation for each foot the door is high. Easy-peasy-lemon-squeezy
Not much more to add here so just watch the video for all the details.
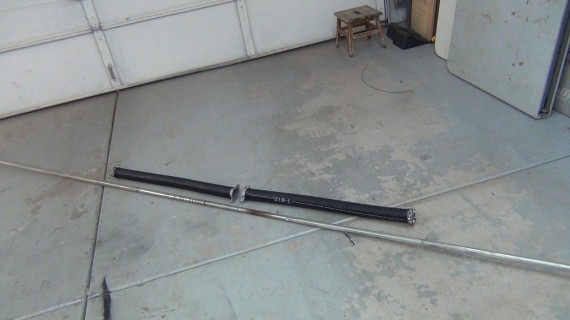
These are my two new torsion springs with end cones ready to go on the winding bar.
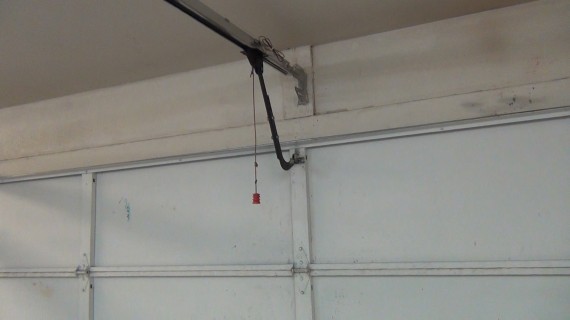
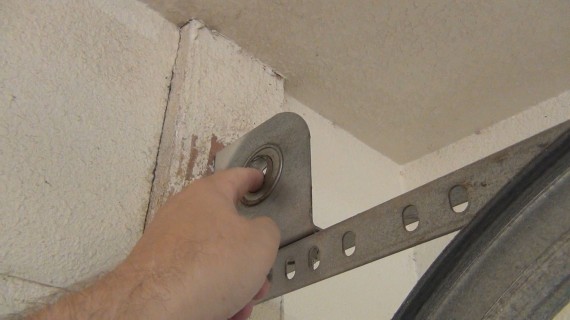
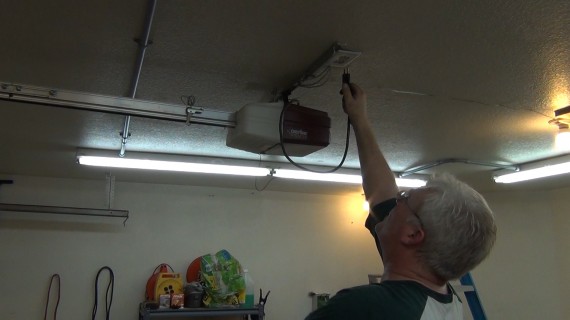
When the spring broke I unplugged the motor so that step was already done. Below is the lift bar that connects the door to the lift motor gear and has to be removed during installation.
Before putting up the winding bar I check the end bearings.
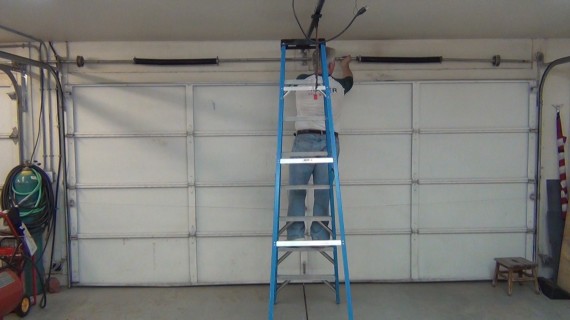
This step would be easier with two people but one person can put up the winding bar.
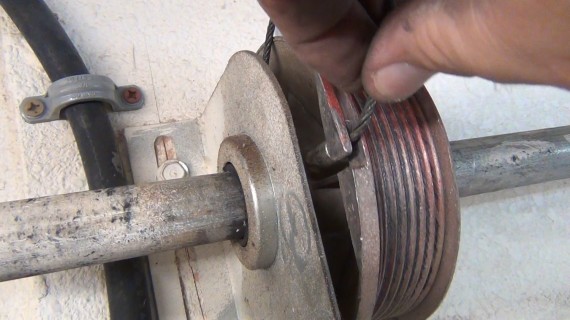
Here I’m putting on the lift cable to the cable roller.
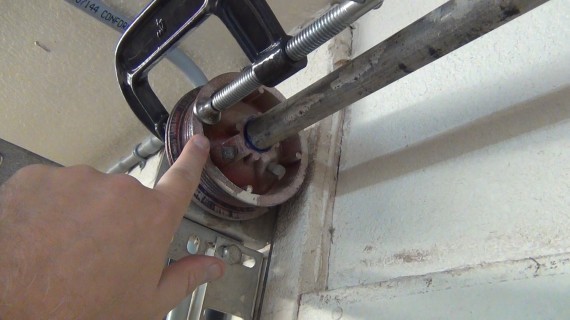
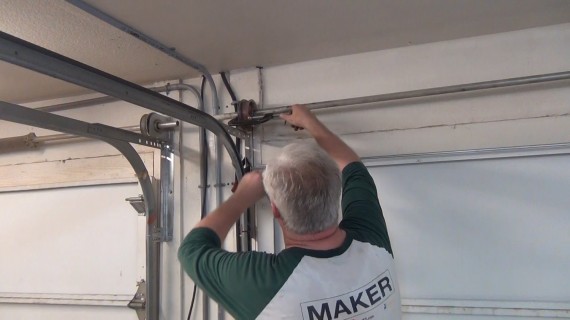
After attaching the cables to both cable rollers I take all the slack out of the cable and clamp the cable rollers to the brackets. Then tighten the cable roller set screws to the winding bar. Just a note: I don’t clamp the roller hard, just enough to keep it from moving until I started loading the springs.
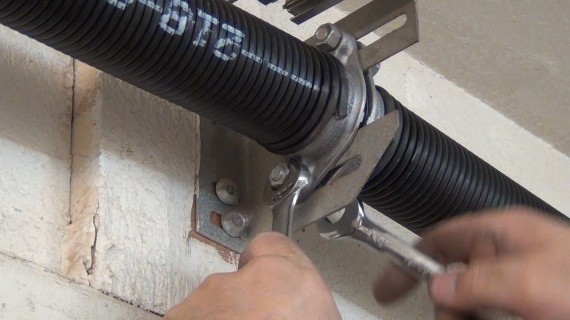
Here I’m attaching the torsion springs to the spring anchor in the middle of the garage door. This anchor bracket needs to be bolted solid to the wall because the springs apply all their torque to this anchor and you don’t want it ripping out of the wall. If it did it would spin like a saw blade hacking up anything to close.
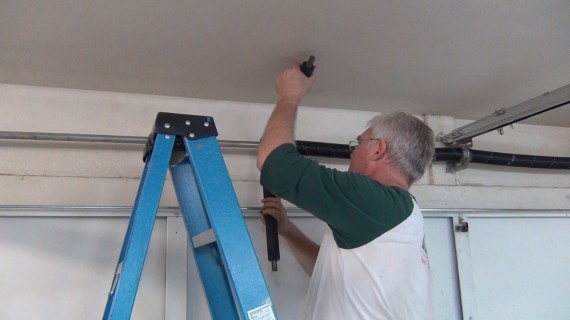
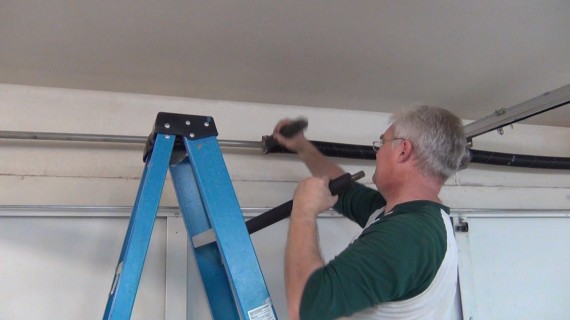
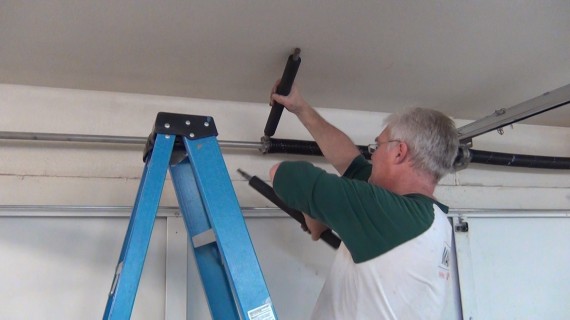
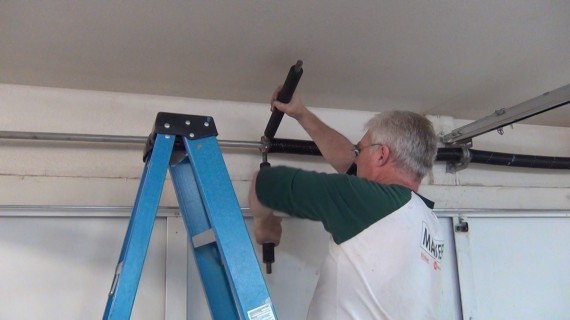
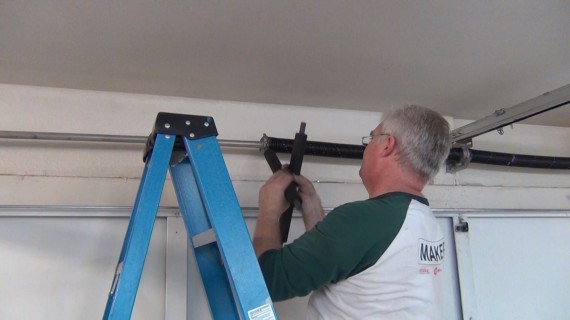
Scroll through the next few photos to get an idea how I use these large roller pins to load the springs. After loading with 7 rotations I tighten up the set screws on the spring cones. I counted 7 rotations because my door is 7 feet high but I could have just counted the swirl lines being these new springs had a white line down one side. Older springs don’t have this line but you could add it yourself I guess.
I removed my C-clamps.
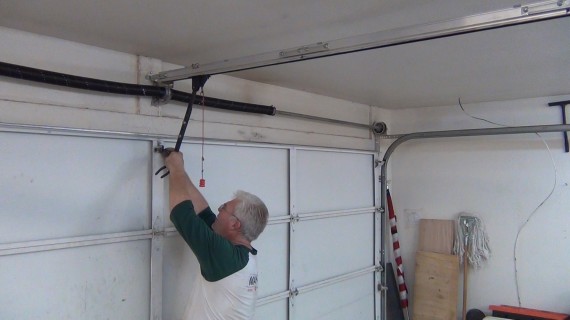
Attached my lift bar.
Plug the motor in.
And it is working again!
Thanks for joining and remember to subscribe to my YouTube channel and my ToddFun.com RSS feed.
bye!


