
Holiday Sun Jar
This is a detailed instructional post so you can make yourself a Holiday Sun Jar, which will bottle the sun and use it’s energy as a natural “green” nightlight.
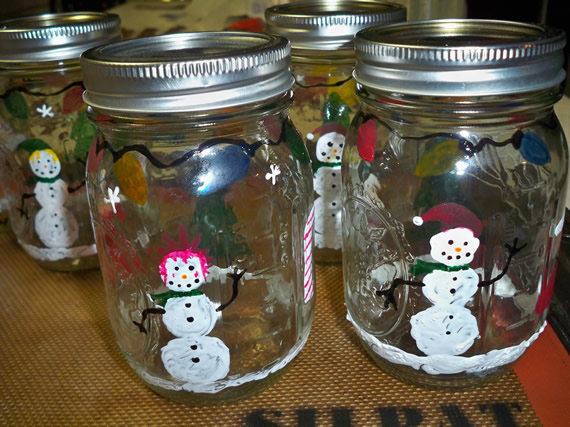
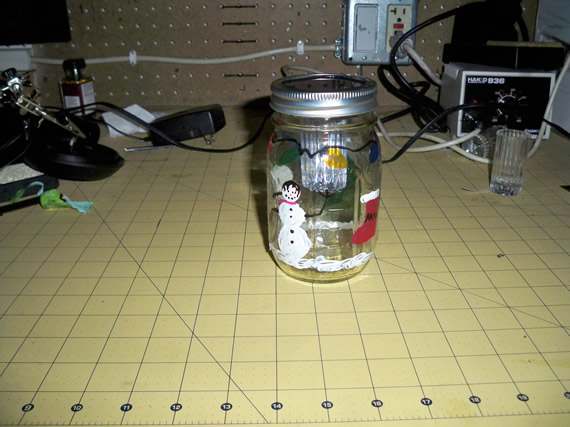
A “Holiday Sun Jar” is just a Ball Mason glass jar painted with a holiday scene and the guts of a cheap solar powered walkway light affixed to the underside of the lid. The solar panel charges the battery during the day and at night the sun jar puts out a soft glowing light for about 8 hours. This was a very fun family project and makes for a great gift for Christmas or any other occasion, just pick an appropriate scene.

My daughter painted all the winter scenes using glass paints. She also filled the bottom of the jars with candy and chocolates to add a little extra to her gift.
She used “delta creative” http://www.deltacreative.com/ brand “Air-Dry PermEnamel” glass paint (black) and accent liner (white). She also used “pebeo” http://www.pebeo.com/ brand colored glossy paint markers (vitrea 160 pens in muli-colors). The glass was prepped using “Air-Dry PermEnamel – Surface Conditioner”. Once the paint dries you bake the jars in your oven for 40 minutes on 325F/160C degrees to dry paint permanently to the jar and make them dishwasher safe. Word of warning: bake “WITHOUT THE LIDS”. If you leave the lids on the rubber liner on the lid melts to the jar and you can’t get the tops off. I imagine the jars could even explode under the pressure changes.
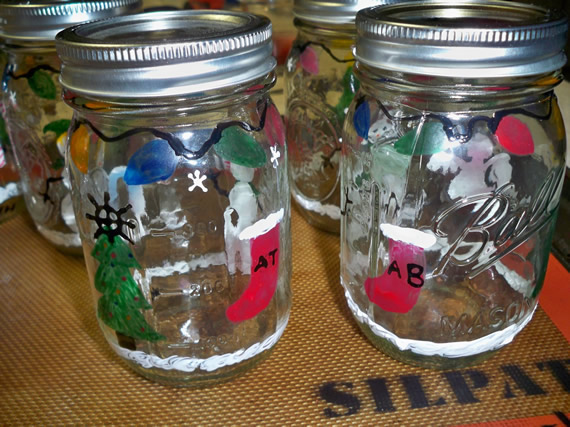
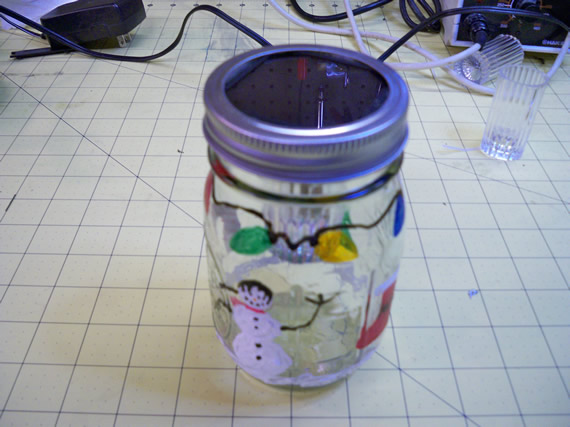
Here are some that have been personalized as they will be gifted. We didn’t frost the inside of the jar as seen at lifehacker.com (link) because the solar path lights we used had a nice plastic diffuser (crystal); less messy that way, too. The jars used in the lifehacker.com post mixed much better with their solar lights than my mix, but when hacking you have to use what you have.
This is a photo of the solar path light we hacked to make our sun jars glow. If you catch the “4 Piece Solar Light Set item #93863” on sale at Harbor Freight they are only $9 for the set. Normal price is $15.
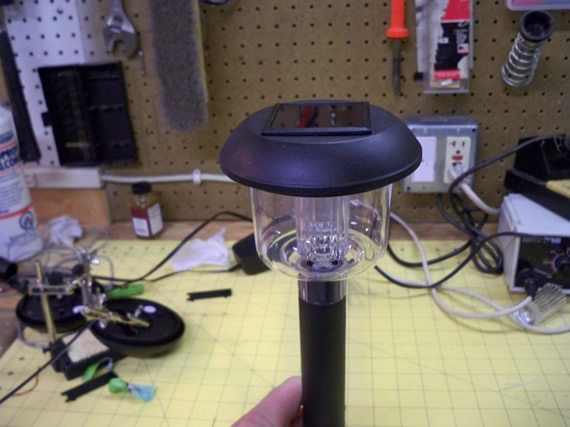
You can toss out the pole and the clear cover but we want to keep the plastic crystal and electronics that are in the cap.
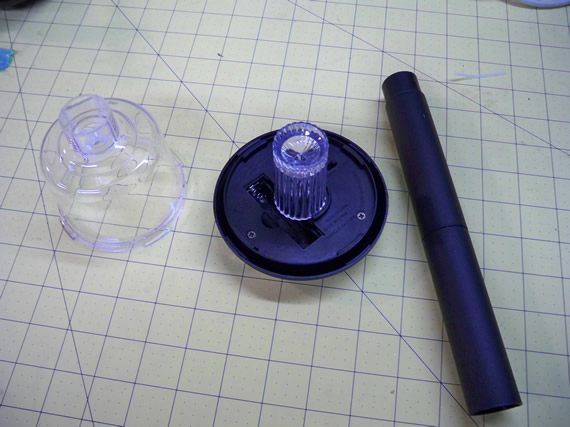
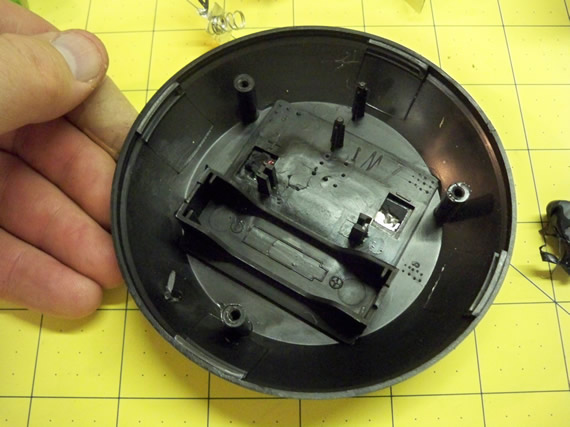
Take off the battery cover and toss it out. Take out the rechargeable battery and save it. Remove the 3 screws and toss them out along with the bottom cover.

This is a close-up of the electronics we want to salvage. There is a small circuit board, on/off switch, LED, solar panel and connecting wires.
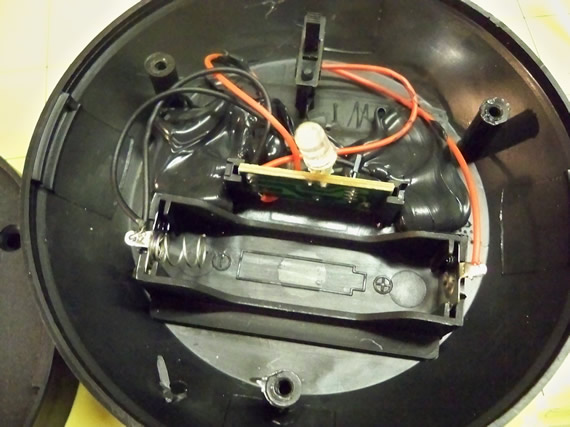
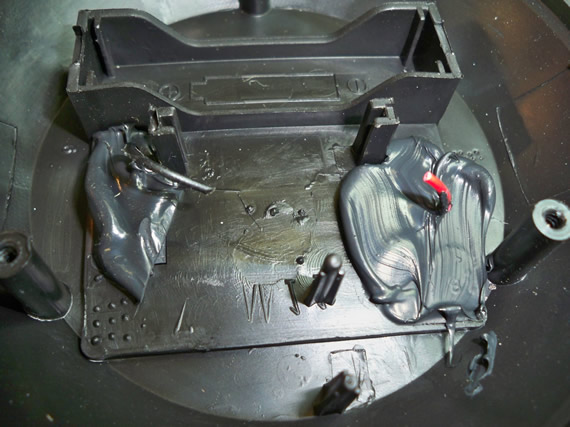
For the most part getting this stuff out is trivial with the exception of the solar panel. Cut the two wires that are going down to the solar panel at about 1/2 inch from the panel. See marks in photo.
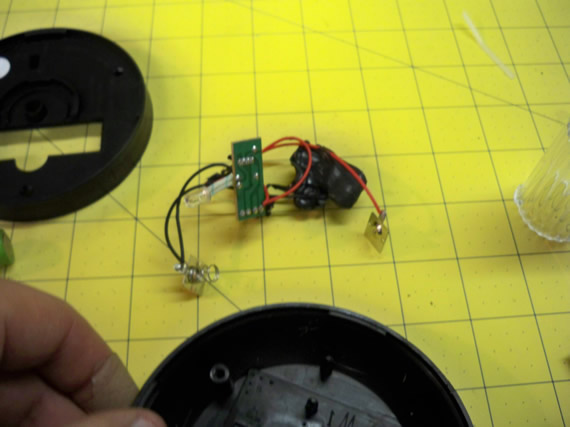
This is the circuit removed from the path light that we will be reusing. In this photo you see all that black silicon is still stuck to the wires. You need to clean it off using a sharp knife but be careful not to cut the wires. You can cut off and discard the metal battery terminal tabs, but take note that these wires need to be directly reattached (soldered) to the battery when we’re done.
In this photo you see me pulling the black silicon and wire off the solar panel base which made for a difficult job soldering the wires back onto the back of the solar pane.
Now only the solar panel is left to remove. Note that in this photo I didn’t leave the bits of pig tail wire connected to the back of the solar panel, lesson learned :).
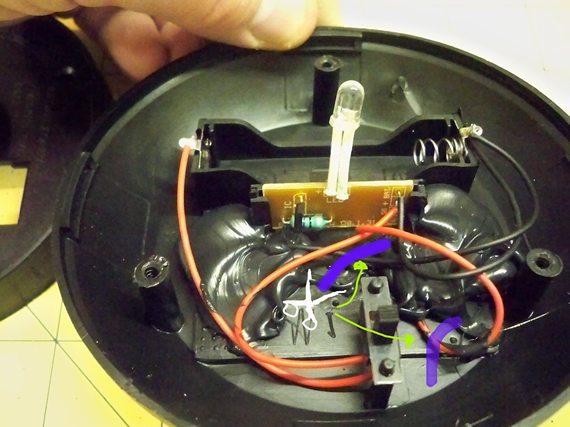
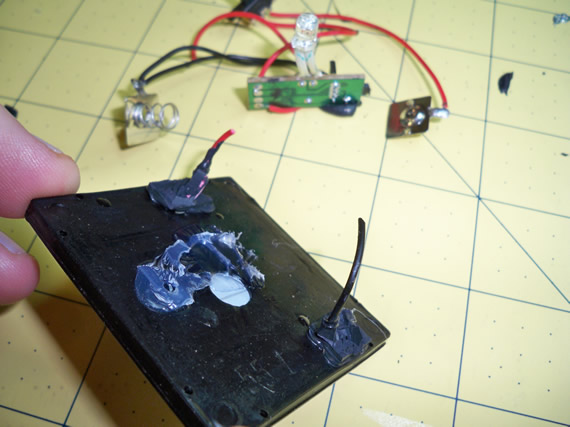
This is my second attempt. This time I cut out the circuit leaving 1/2 inch pig tail wires going down through the black silicon to the back of the solar panel.
I found the best way to get the solar panel out was to use a very sharp knife to cut down around the two wires connecting the circuit to the solar panel. Cut all the way through the black silicon glue all the way to the plastic cap as close to the wires as possible. If you’re careful you will be able to cut all the silicon away from the 1/2 inch pig tail of wire you left connected to your solar panel. It will be a lot easier to hookup these pig tail wires to the circuit later once we get the panel fully removed. You have to go very slow and take small chunks at a time because the wires snake through the black silicon and you don’t want to cut off your pig tail wires.

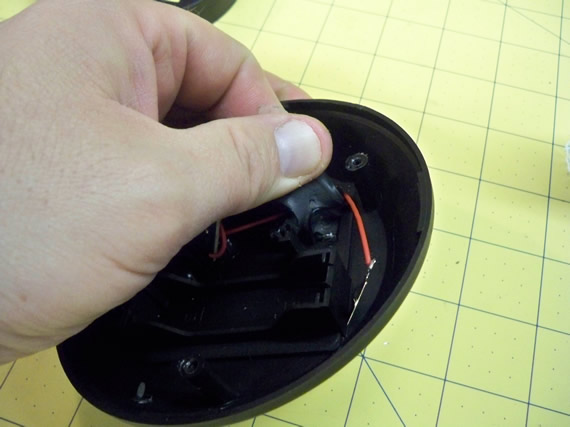
If you just press with your thumbs on the back of the plastic lid, the solar panel will pop out. It is only held down by a speck of hot glue on the ones I disassembled.
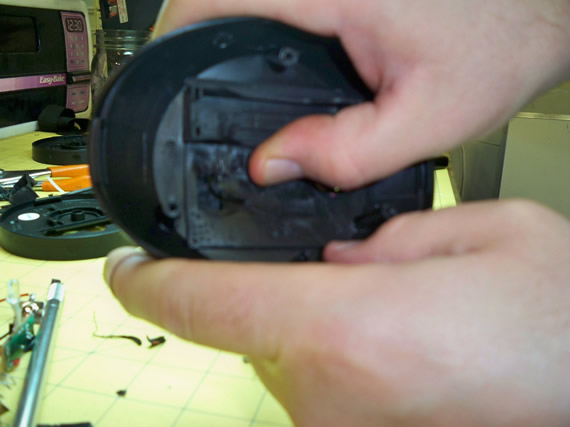
Solar panel is FREE!
And this time the connecting wires on the back of the panel are still intact.
Being I didn’t leave the 1/2 inch of pig tail wires connect to my solar panel terminals on my first try I had to mark the positive terminal with a (+) so I would get the wires connected correctly in the final assembly.
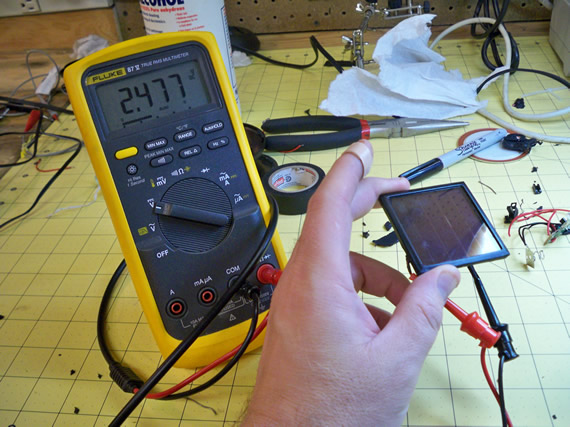
Before you go through the trouble of hooking everything up, make sure your solar panel still works and that you didn’t accidently break the solder connections for the wires to the back of the solar panel. Just connect the leads of your meter to the solar panel leads, set to volts DC and shine some light on the panel. You should get 1.7 to 2.5 volts depending on your lighting conditions. Wiggle the pig tail wires a bit just to make sure you have a strong connection still.
For my jars this solar panel is just a bit too wide to fit in the Mason jar lid.

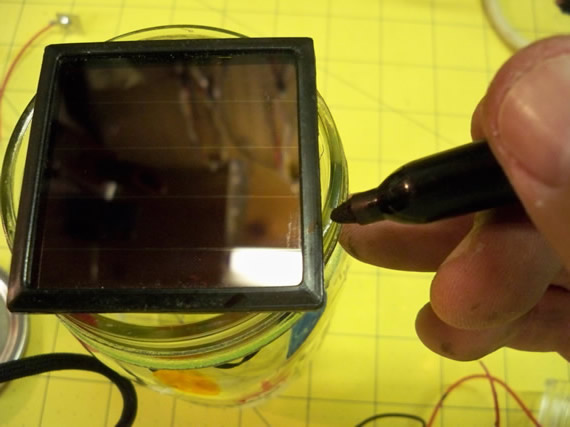
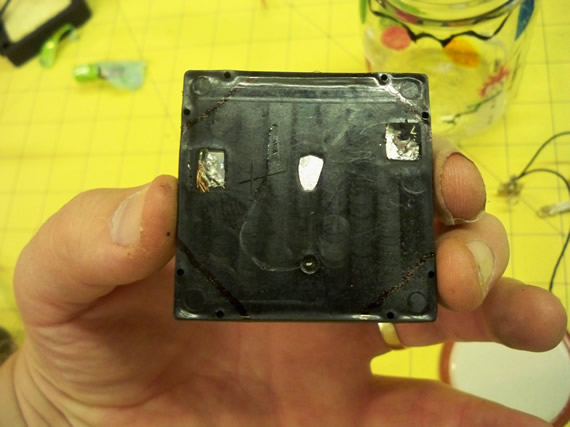
Once sized to fit into the lid I found the panel was too thick for the lid to screw down so I had to thin the panel on the corners. In this photo I’m marking where to thin the top plastic ring that wraps around the panel so that there is room for the lid to screw down onto the jar once the panel is under the jar lid.
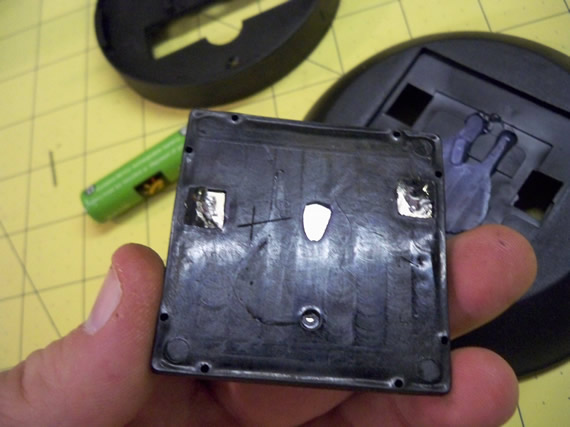
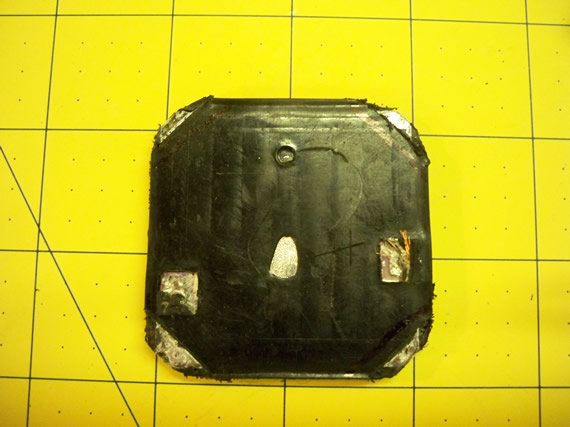
This is a photo of the bottom where I marked where I also have to thin the plastic on the bottom of the panel for the same reason.
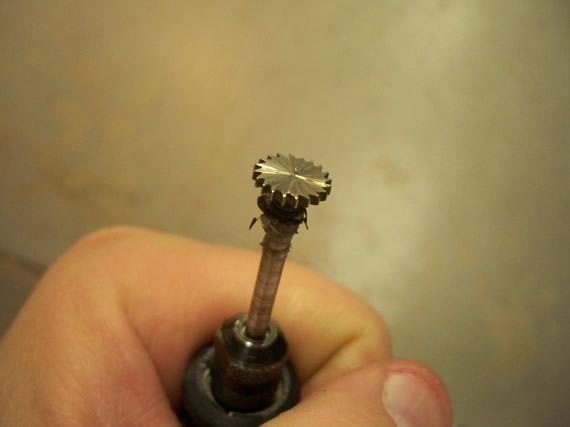
When using a Dremel to cut or shave plastic don’t use a cutoff wheel. Get one of these small saw wheels. The saw teeth cut chunks of plastic a little at a time so at a slow speed setting you get a nice clean cut without a lot of melting.
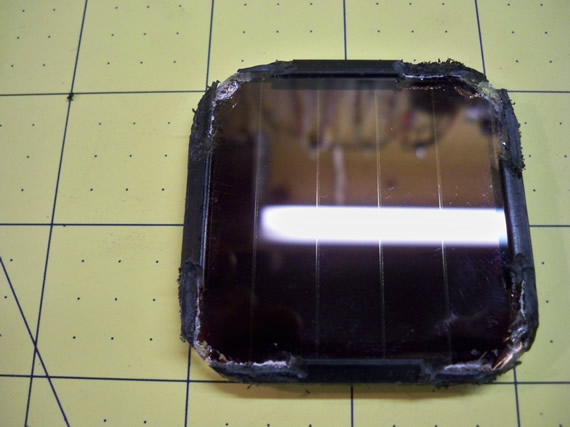
I nibbled away the excess plastic edging that was proud of the glass on all four corners to thin the panel some.
I did the same on the bottom being careful not to chip the solar panel glass.
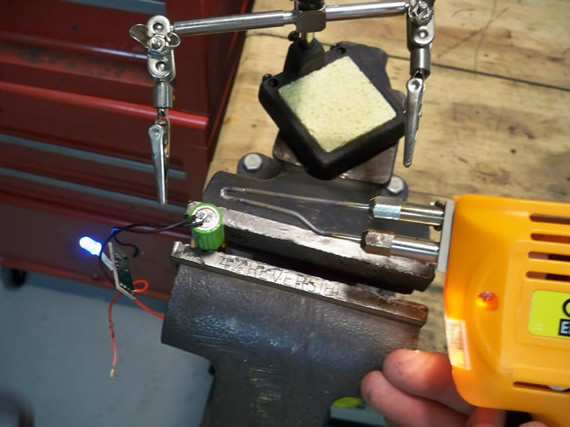
Now it is time to hook the circuit back up to the rechargeable battery. WARNING: this is not entirely safe so be careful. I wore a face shield and respirator when doing this part. You need to get the base metal of the battery hot very fast in order to solder on the battery wires safely. I used a large solder gun that can put out a ton of heat quickly. Use a “helping hand tool” to hold the wire in place and heat the battery contact and wire with the solder gun for no more than a few seconds before applying a good amount of solder quickly. DO NOT over heat the battery when doing this because rechargeable batteries can explode if heated this way and the stuff inside can be very toxic and dangerous. Two black wires are soldered to the negative terminal and one red wire was soldered to the positive terminal of the battery. The LED will light when you make this connection if your battery is charged. Once the solar panel is connected into the circuit, the LED will turn off when light is sensed
Using a normal bench electronics solder iron, solder one of the black wires from the battery to the negative post of the solar panel and the red wire from the circuit board to the positive post of the solar panel. Put hot glue over the solar panel terminals and glue the battery down in the middle of the panel.
Not seen in this photo is the switch. I was originally not going to include the switch, but later I cut the red wire coming from the battery and added the switch just so I would be able to turn the jar on/off when needed. The switch will most likely always be on so the jar can charge during the day and run at night but there may be times, like when wrapping it as a gift, when you want it off.

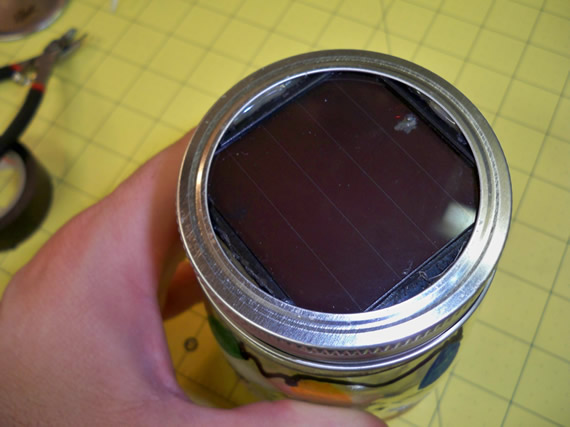
Hot glue is your friend, so glue the panel inside the jar lid. Fill in the cracks between the solar panel and lid if you plan on using your sun jar outside, but be very careful not to get glue on the lid’s threads and don’t use too much glue for this. I found that too much glue or glue on the threads made it impossible to put the lid on.
Using the plastic crystal makes the light spread out and sparkles nicely inside the jar. I made the crystal “cup” fit tightly over the battery by carving out two channels on either side of the open end just a little bigger than a AA battery. Bend the LED over one way and put it into to the crystal cup. Finish up by hot gluing the crystal cup over the battery.
Turn on the switch and screw on the lid. I pre-charged my battery in a standard wall charger before assembly so my solar jar was already working. If you didn’t pre-charge, leave the jar in the sun for a day to charge the battery. Make sure the switch is on because the battery can’t change if the switch is off.
During the day or under room lighting, the sun jar will be off but the circuit will be in charge mode charging up the battery. For a good, complete daily charge leave your sun jar outside or near a window.
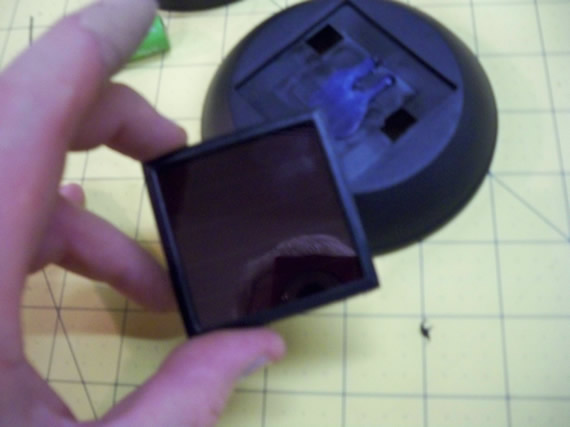
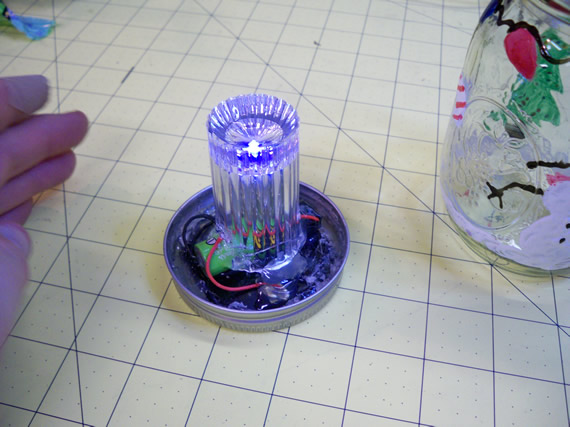
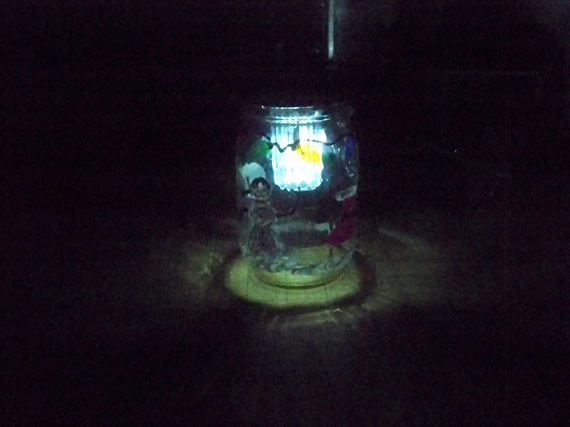
Each evening or in a dark room the circuit will switch over to battery mode and glow softly for up to 8 hours using the stored energy from the sun. It is hard to show this with the flash camera.
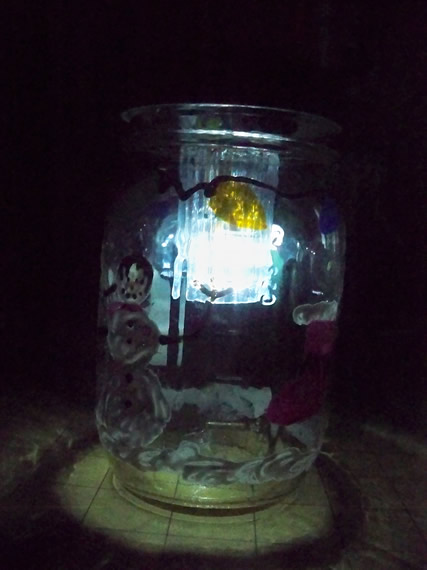
But this photo is with the flash off so the light from the LED shows a little better. The jar glows a lot better than what shows up in these darkened photos.

Links for Beginners in Electronics }:-)
Archives
- April 2017 (1)
- March 2017 (3)
- December 2016 (1)
- November 2016 (3)
- October 2016 (2)
- September 2016 (2)
- August 2016 (4)
- June 2016 (1)
- May 2016 (6)
- April 2016 (1)
- March 2016 (3)
- February 2016 (4)
- January 2016 (3)
- December 2015 (1)
- November 2015 (5)
- September 2015 (1)
- July 2015 (2)
- June 2015 (6)
- March 2015 (1)
- January 2015 (2)
- December 2014 (2)
- November 2014 (4)
- October 2014 (2)
- May 2014 (1)
- March 2014 (5)
- February 2014 (3)
- January 2014 (1)
- September 2013 (2)
- August 2013 (1)
- July 2013 (4)
- June 2013 (3)
- May 2013 (2)
- April 2013 (1)
- March 2013 (3)
- February 2013 (2)
- January 2013 (2)
- December 2012 (1)
- November 2012 (8)
- October 2012 (5)
- September 2012 (1)
- August 2012 (1)
- July 2012 (2)
- May 2012 (2)
- April 2012 (1)
- March 2012 (3)
- February 2012 (2)
- December 2011 (2)
- November 2011 (4)
- October 2011 (1)
- September 2011 (1)
- August 2011 (2)
- May 2011 (2)
- April 2011 (2)
- March 2011 (2)
- February 2011 (2)
- January 2011 (1)
- December 2010 (2)
- November 2010 (2)
- July 2010 (3)
- June 2010 (2)
- April 2010 (1)
- March 2010 (1)
- February 2010 (2)
- January 2010 (1)
- December 2009 (2)
- October 2009 (4)
- March 2009 (1)
- December 2008 (1)
- November 2008 (1)
- August 2008 (1)
- April 2008 (1)
- March 2008 (1)
- February 2008 (1)
- June 2007 (1)
- November 2005 (1)
- April 2005 (1)