
I was helping HeatSync Labs with their amateur high altitude balloon launch back on August 27th 2010. I finally got time to post the photos and the video. It was a great launch and recovery.
We launched the balloon at 8:04am and recovered it at 10:18am. Here is a link to the GPS tracking data from the balloon.
This flight tracking data may not be available, sorry.
Everything survived the landing. We landed in some farmland just off a dirt road and the transmitter worked the whole time so it was an easy recovery.
READ —>:
We had two big failures.
1) The GPS was not set to transmit altitude over the ham radios so we don’t know how high the balloon got.
2) The main camera lens iced up someplace over 20,000 feet so all the photos and videos are hard to view at altitude.Because of these two issues we can only guess we made 70,000 feet but we are just not sure.
The HeatSync Labs group also posted video from the payload cameras .
Below are my photos of the launch and recovery with some short notes
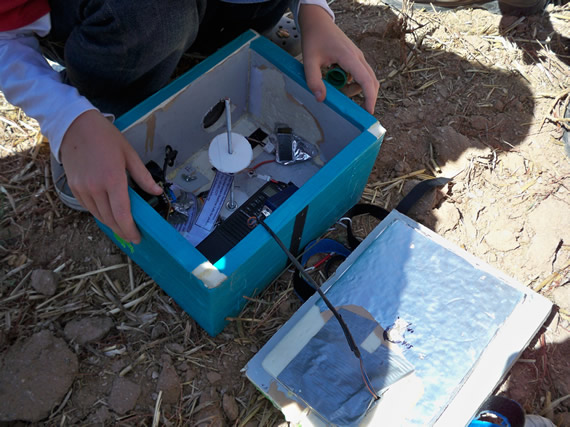
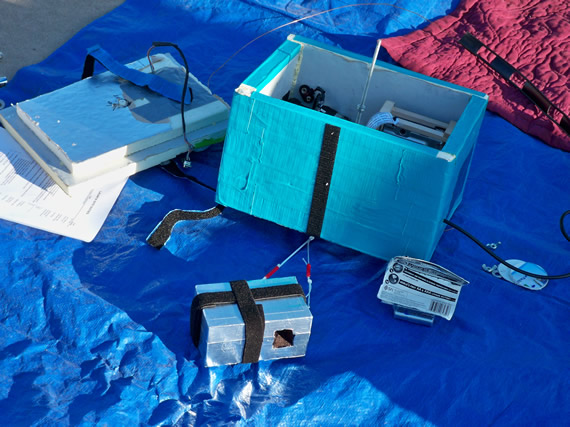
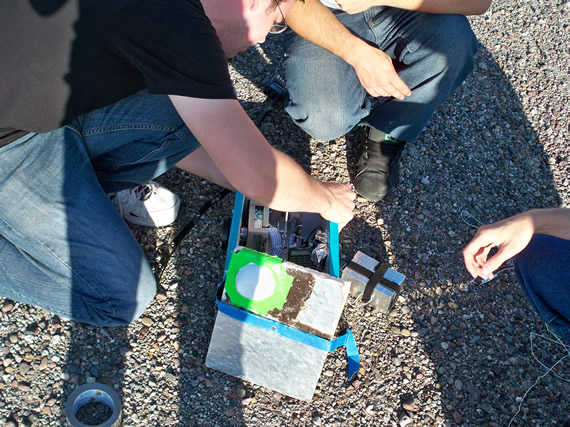
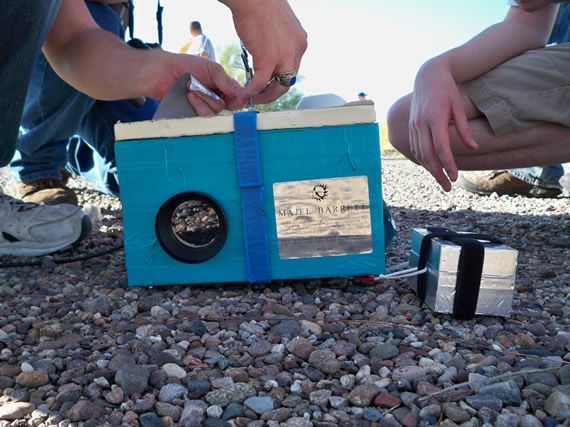
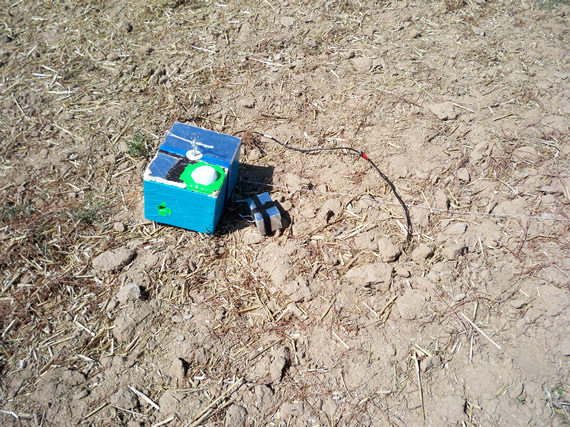
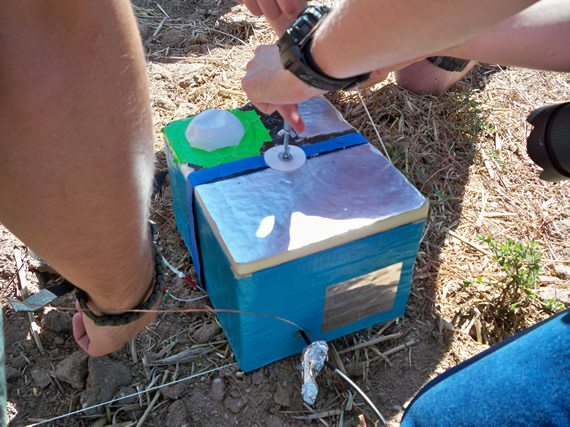
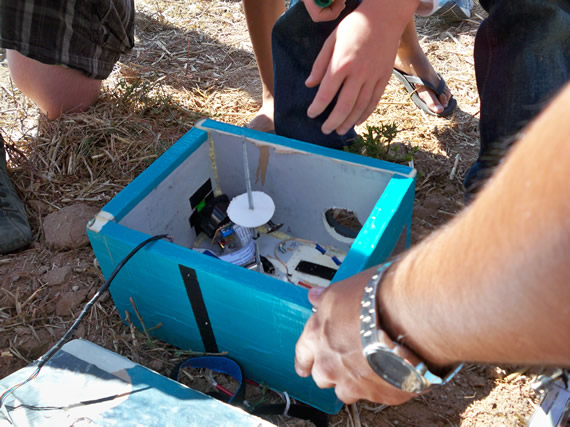
This is the main payload box with ham radio tracking, GPS and camera.
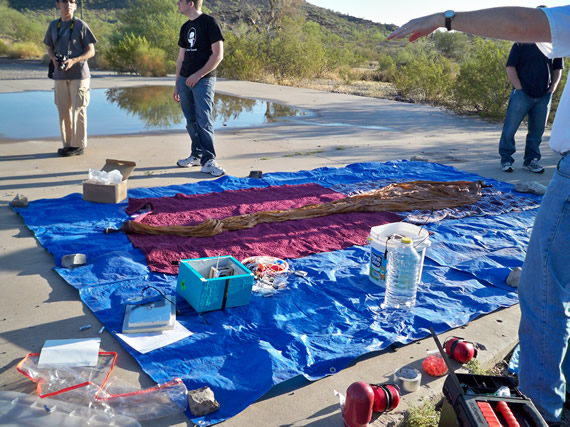
The launch pad.
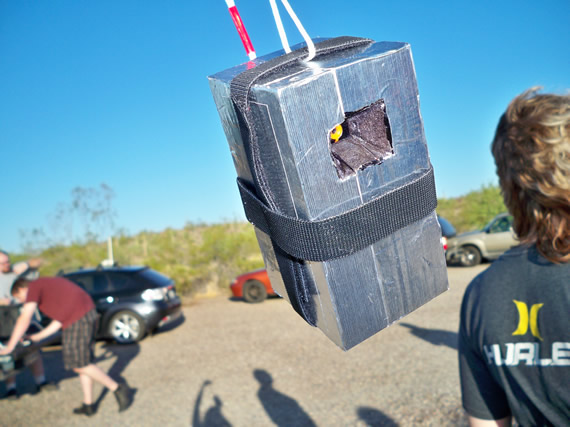
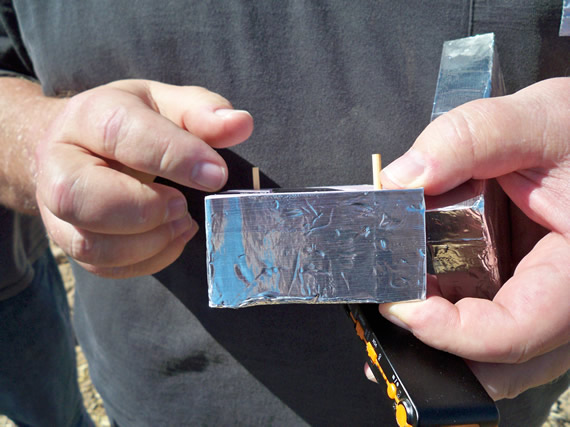
2nd payload with small USB camera.
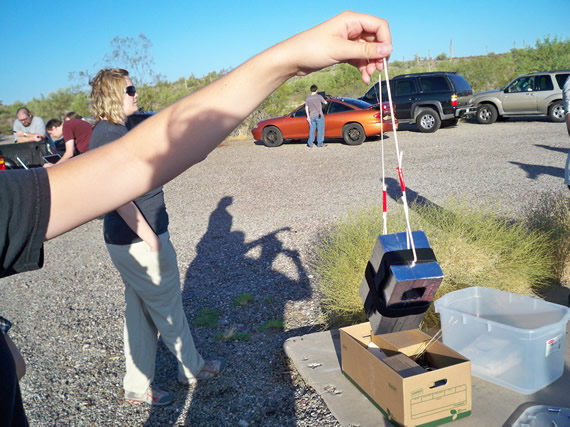
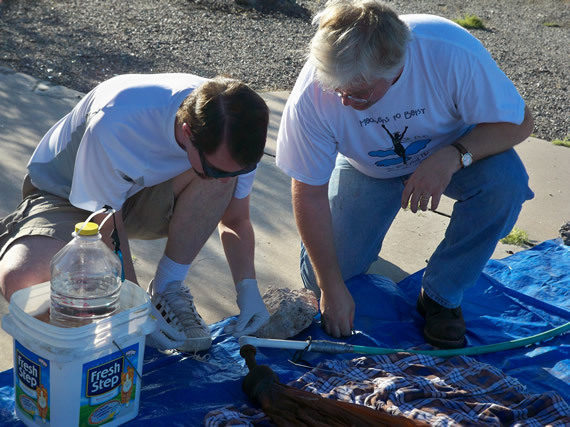
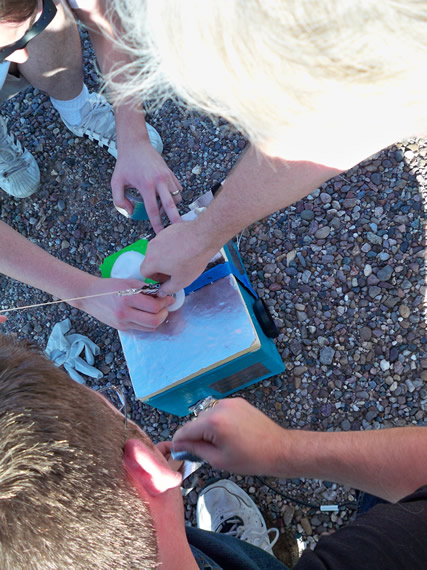
Payload getting all new batteries.
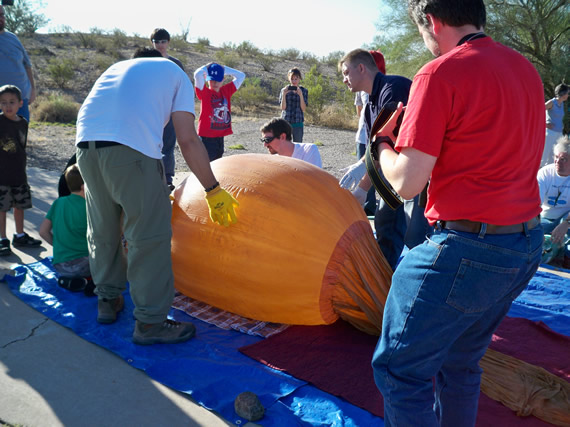
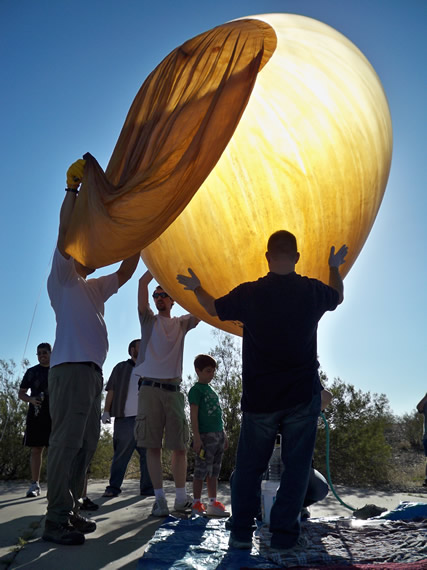
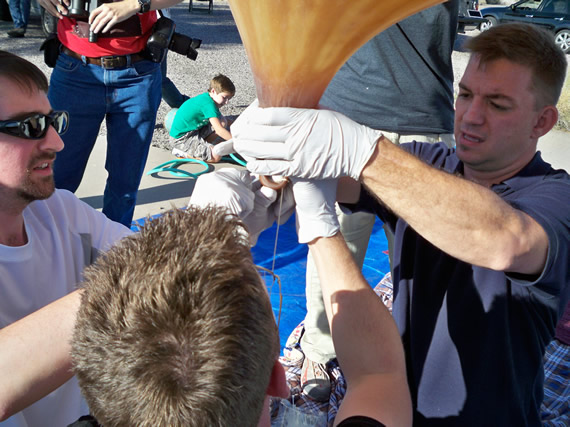
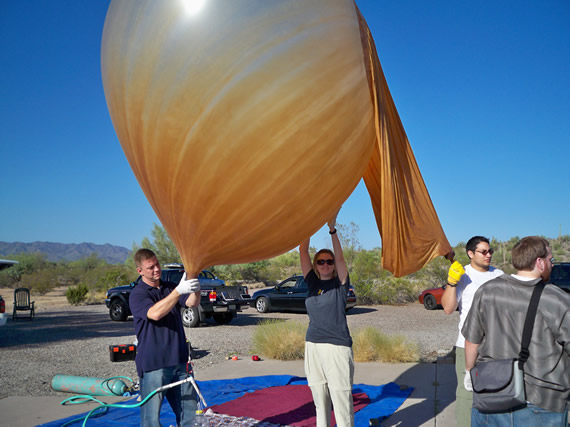
Below is the neck of the balloon where you fill it.
The balloon fill tube is just two sections of PVC pipe with a 90 degree elbow connected to a garden hose with hose clamps.
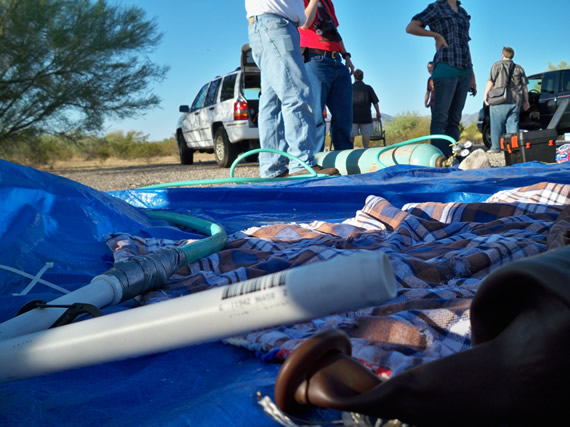
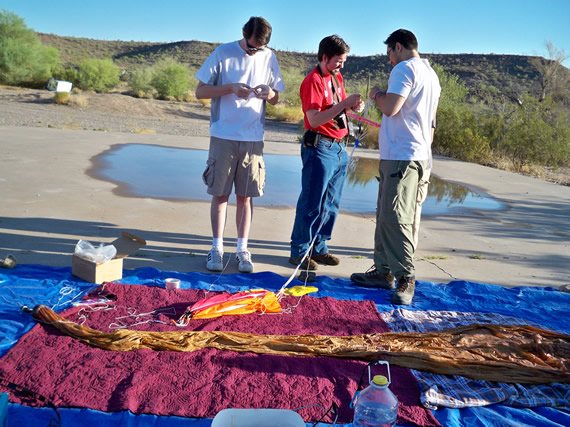
Connecting the parachute to the payload.
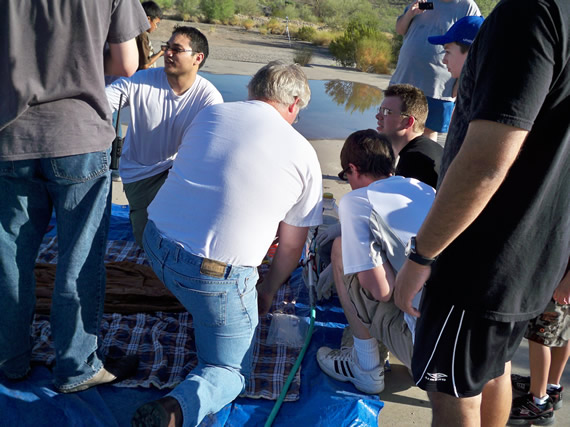
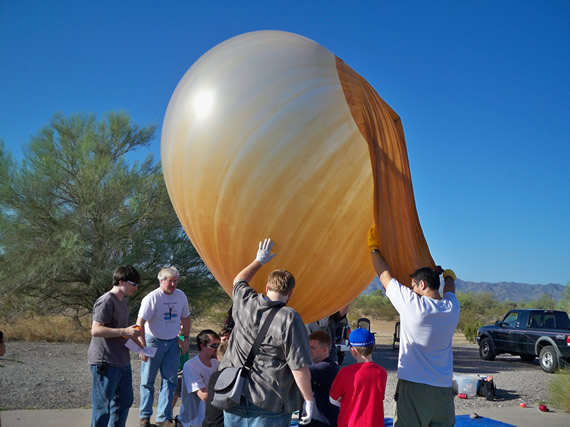
We put the PVC fill pipe into the balloon’s neck and used zip ties to hold the balloon onto the PVC pipe. Once the balloon is filled we cut the zip ties, pull out the PVC pipe and use more zip ties to seal the neck. Then we put some tape over the zip ties and let it go.
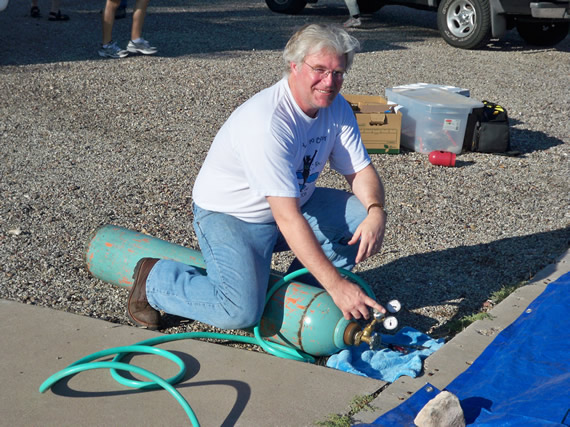
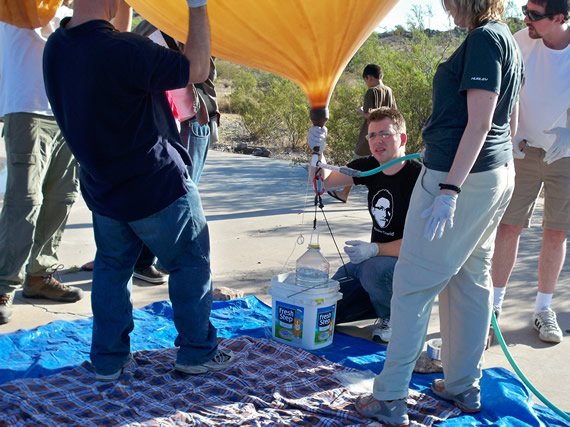
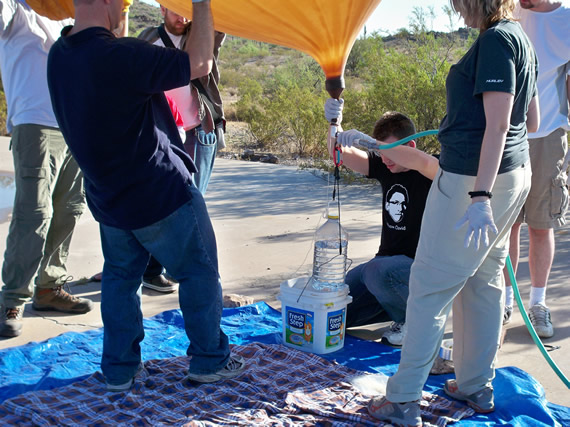
I opened the helium tank and controlled the flow with the regulator.

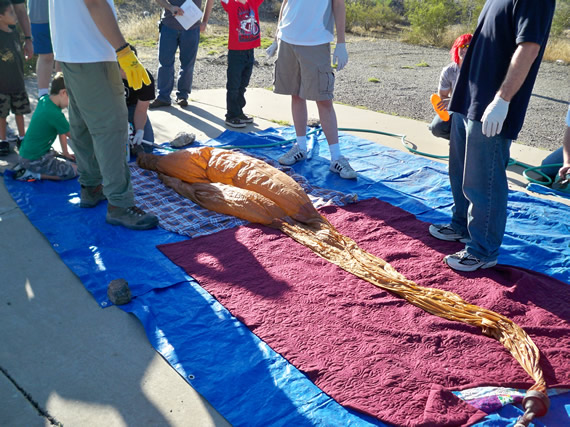
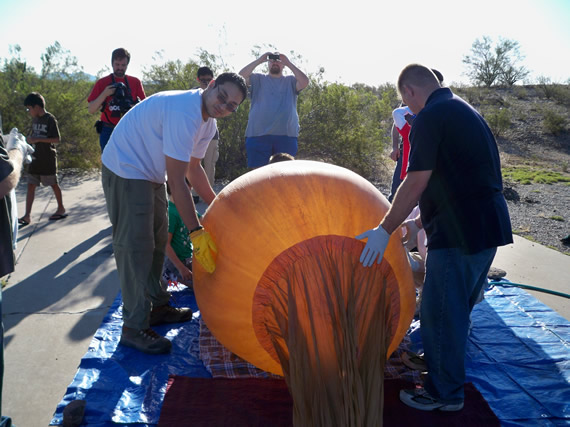

The PVC pipe is clipped to the counter weights. The bucket has 6 bricks in it that acts like an anchor. The balloon will never be able to lift the bucket of bricks.
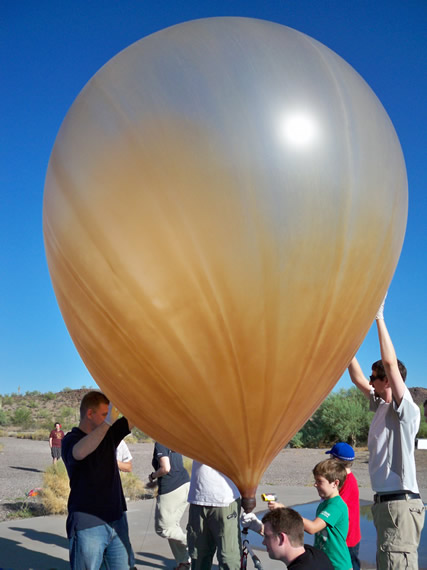
The PVC fill pipe is also connected to a large bottle of water on a shorter string that is measured out to exactly 8lb. Once the balloon can lift the 8lbs we know it can take our payload to 90,000 feet.
The balloon fills from the top and the payload hangs from a skirt on the bottom. Below the balloon is upside down becuase we are still filling the balloon.
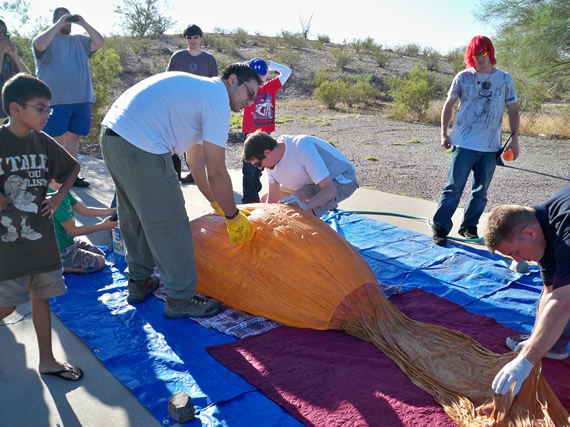
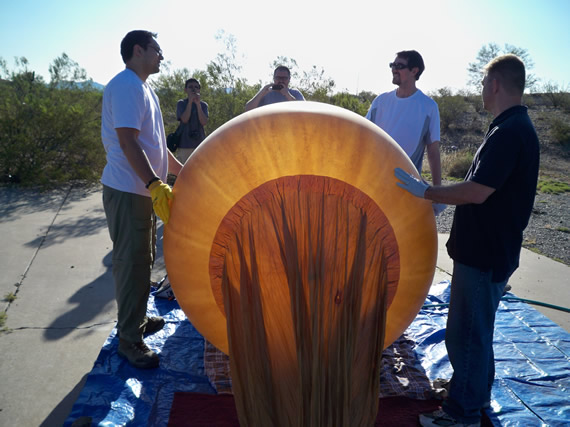
Once full to 8lbs of lift we pulled out the PVC fill pipe and used zip ties and tape to seal it up.
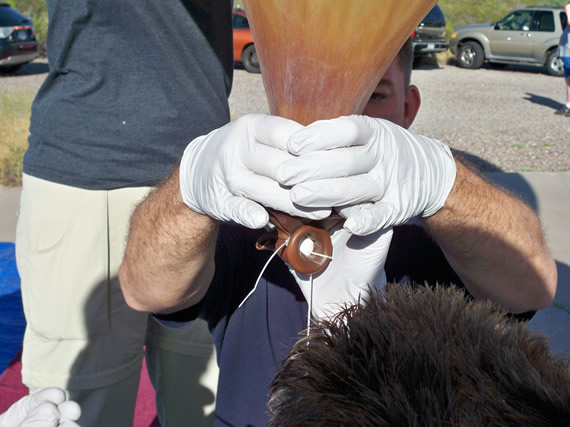
These military balloons have a ball on a string that you pull down into the neck to help seal it but we added zip ties and tape to make a good seal.
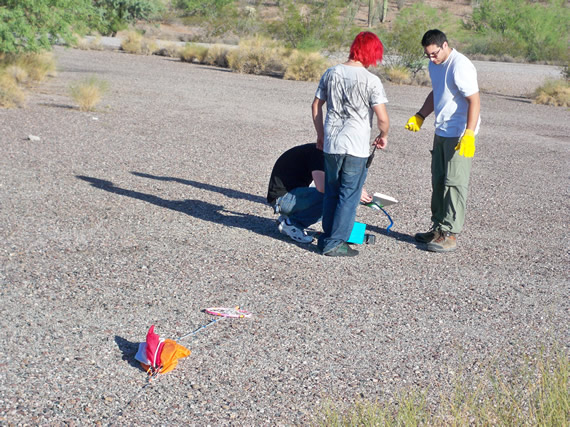
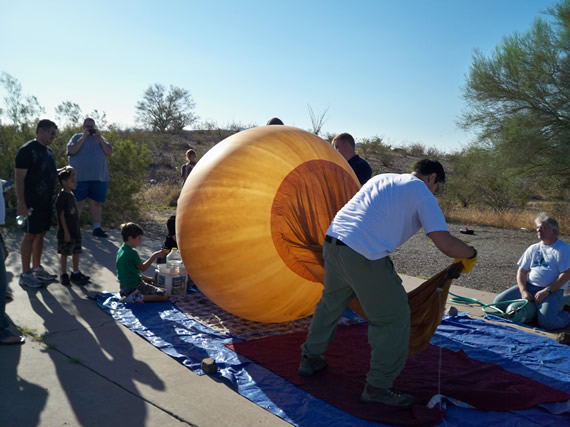
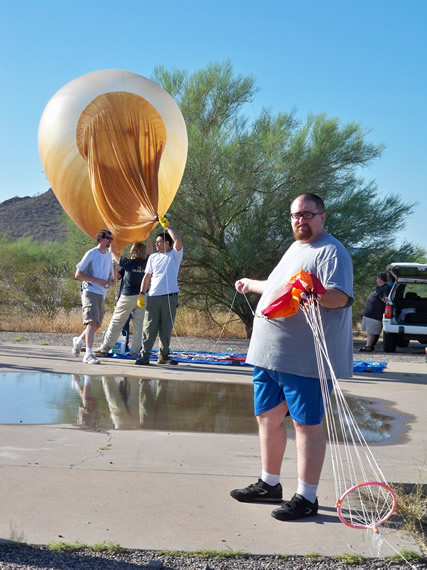
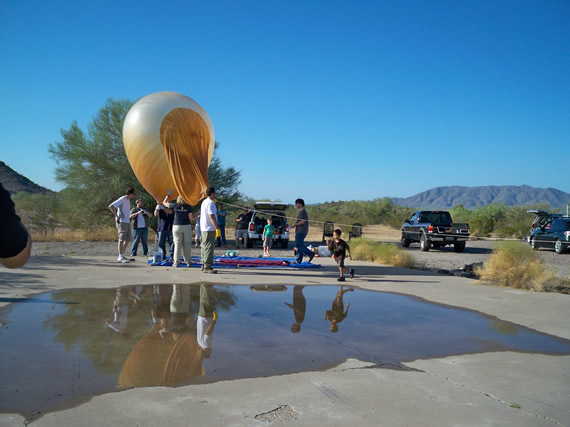
One person holds the parachute down-wind as does a 2nd person holding the payload box ready to release it as the balloon goes up.
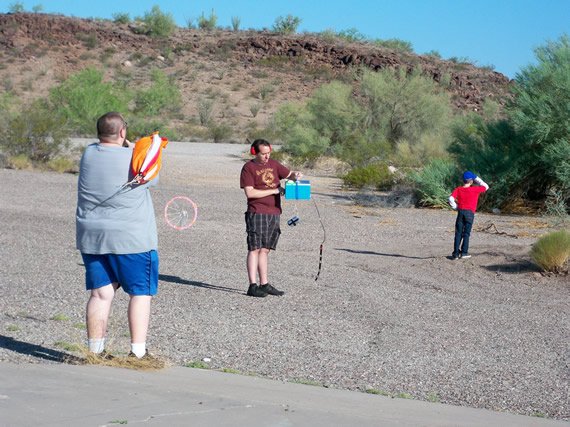

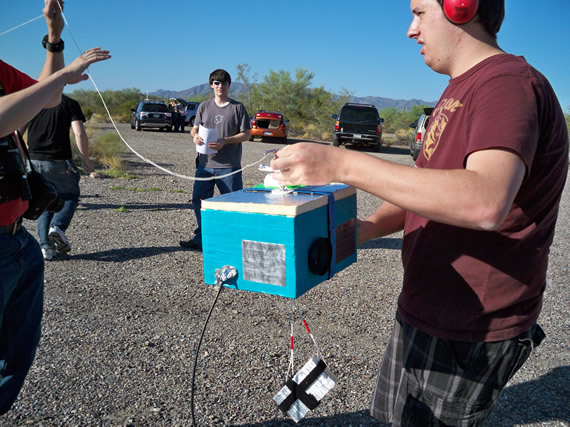
Payload ready and and the transmitter has passed preflight testing.
Time to close up the payload box with all instruments powered up and ready.
The silver label will help with reovery if it gets lost.
The balloon is up and being tracked.

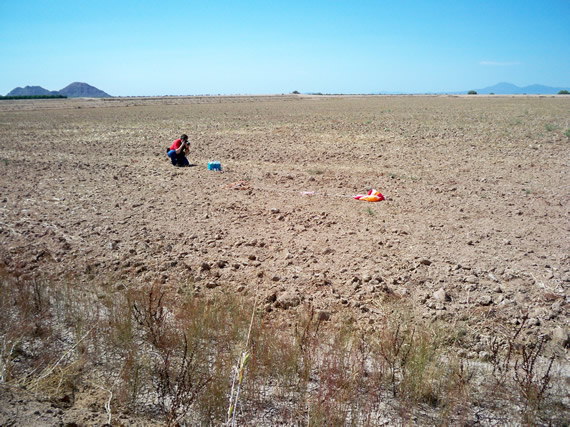
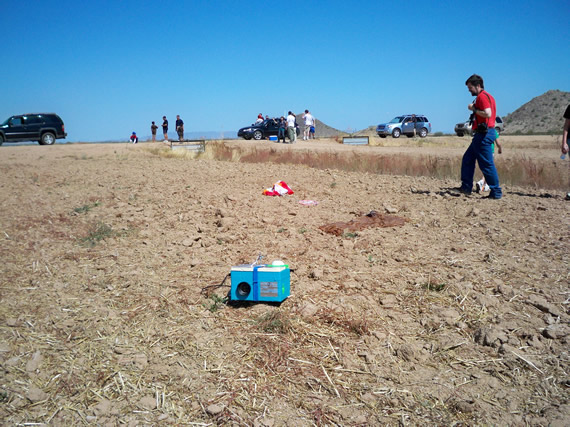
Below the balloon and payload is down in a some field some 2 hours later.
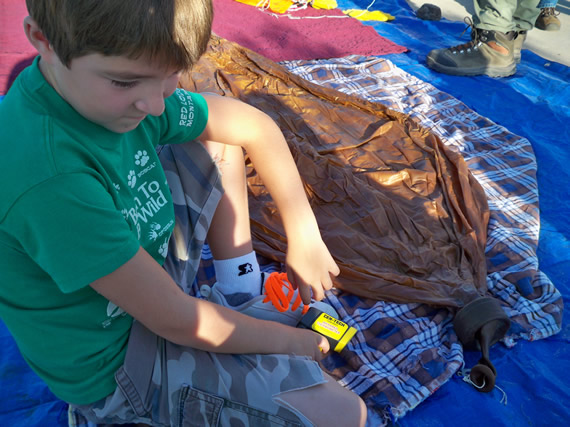
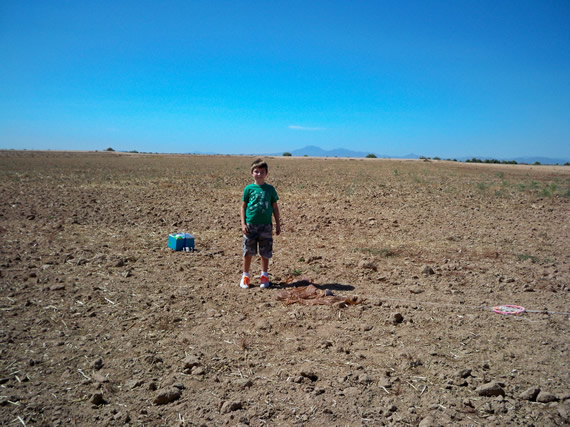
My son Alex. And it was his birth day too!
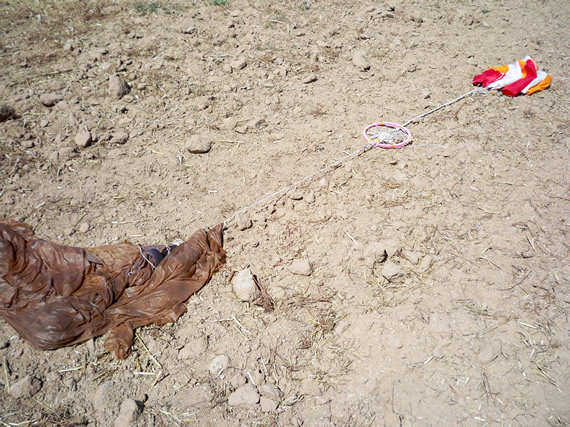
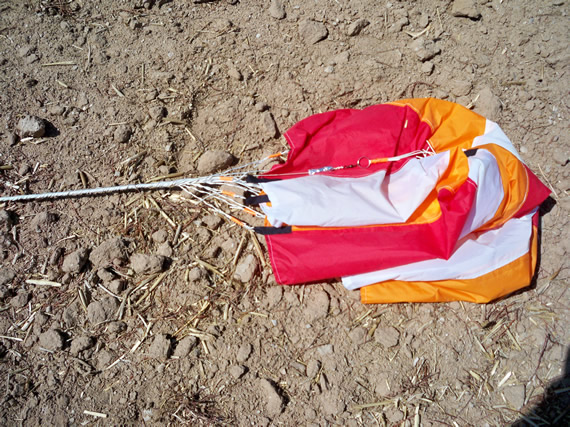
The parachute and popped balloon.
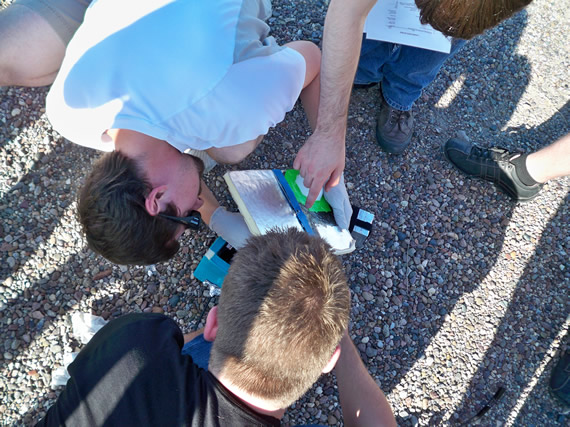
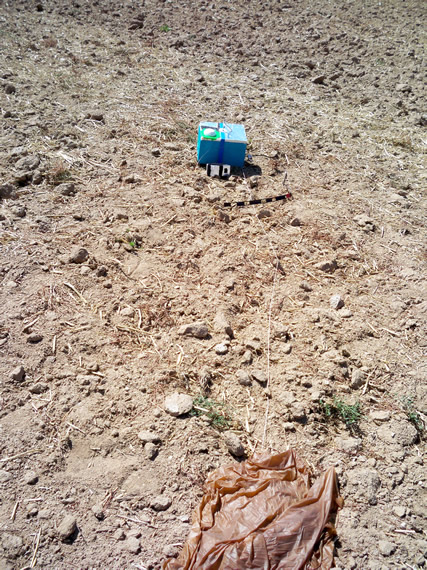
The payload on the ground and it is still in one piece.
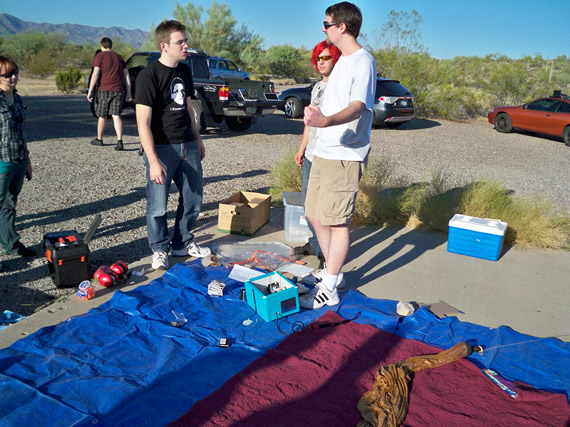
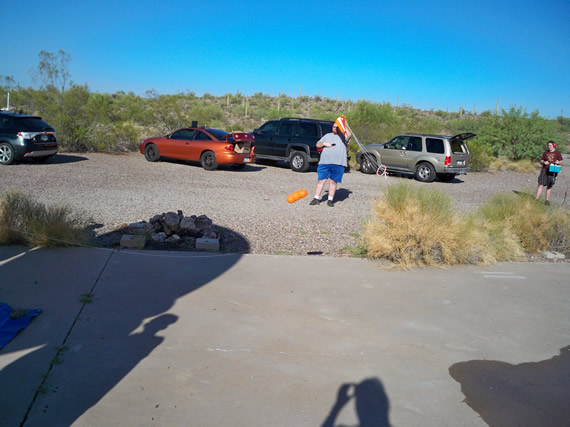
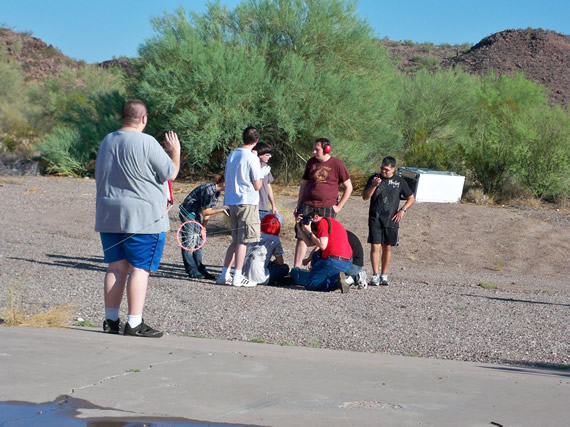
All the chasers have showed up at the landing zone.
The parachute.
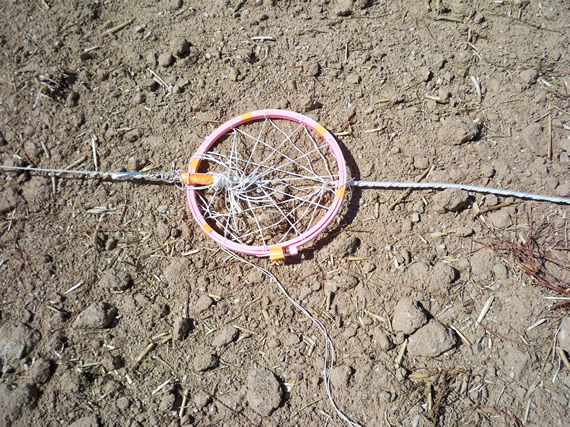
The hoop to keep the parachute strings from getting tangled on the way up.
Popped balloon

It’s back on earth and time to open it and get out the camera.

The 2nd smaller payload camera is being opened.

Links for Beginners in Electronics }:-)
Archives
- April 2017 (1)
- March 2017 (3)
- December 2016 (1)
- November 2016 (3)
- October 2016 (2)
- September 2016 (2)
- August 2016 (4)
- June 2016 (1)
- May 2016 (6)
- April 2016 (1)
- March 2016 (3)
- February 2016 (4)
- January 2016 (3)
- December 2015 (1)
- November 2015 (5)
- September 2015 (1)
- July 2015 (2)
- June 2015 (6)
- March 2015 (1)
- January 2015 (2)
- December 2014 (2)
- November 2014 (4)
- October 2014 (2)
- May 2014 (1)
- March 2014 (5)
- February 2014 (3)
- January 2014 (1)
- September 2013 (2)
- August 2013 (1)
- July 2013 (4)
- June 2013 (3)
- May 2013 (2)
- April 2013 (1)
- March 2013 (3)
- February 2013 (2)
- January 2013 (2)
- December 2012 (1)
- November 2012 (8)
- October 2012 (5)
- September 2012 (1)
- August 2012 (1)
- July 2012 (2)
- May 2012 (2)
- April 2012 (1)
- March 2012 (3)
- February 2012 (2)
- December 2011 (2)
- November 2011 (4)
- October 2011 (1)
- September 2011 (1)
- August 2011 (2)
- May 2011 (2)
- April 2011 (2)
- March 2011 (2)
- February 2011 (2)
- January 2011 (1)
- December 2010 (2)
- November 2010 (2)
- July 2010 (3)
- June 2010 (2)
- April 2010 (1)
- March 2010 (1)
- February 2010 (2)
- January 2010 (1)
- December 2009 (2)
- October 2009 (4)
- March 2009 (1)
- December 2008 (1)
- November 2008 (1)
- August 2008 (1)
- April 2008 (1)
- March 2008 (1)
- February 2008 (1)
- June 2007 (1)
- November 2005 (1)
- April 2005 (1)