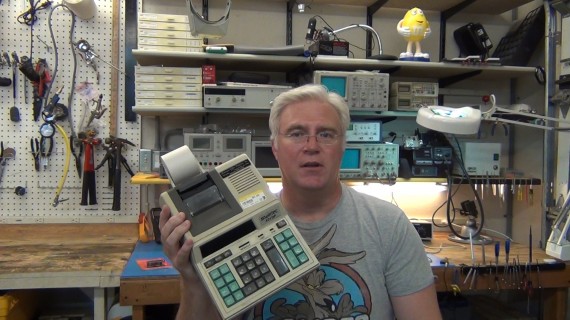
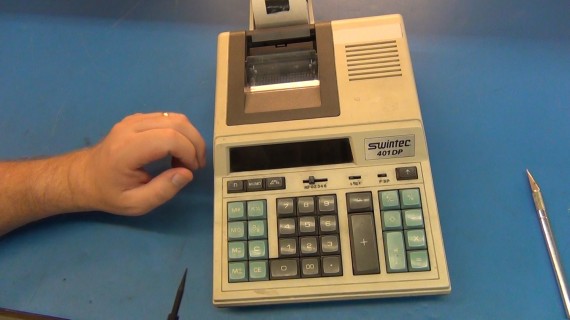
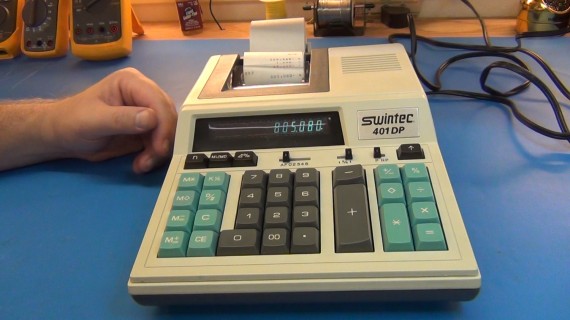
In this video I teardown and cleanup a 20 year old Swintec 401DP printing desk calculator. It was still working and I needed a good desk calculator for my bench.
I cover how some of the electronics work as well as the mechanics and of course my efforts cleaning and greasing it up into perfect working order. Good for another 20 years I say.
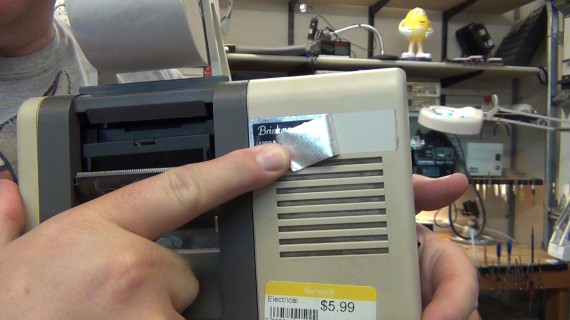
I picked this one up at Goodwill for $3.00 with 10 rolls of paper. It might have worked but it was in horrible condition and filthy as you can imagine, it had a hard life. Still Goodwill is a great place to score old electronics. Normally I don’t fix stuff I get from Goodwill I just tear it down for fun and for spare parts. The old parts are still the best for hacking.
CLICK TO READ ALL —>:
What a sorry dirty looking old girl. For the most part you will have to watch the video to get all the details but I have snapped a few photos here for a quick summary.
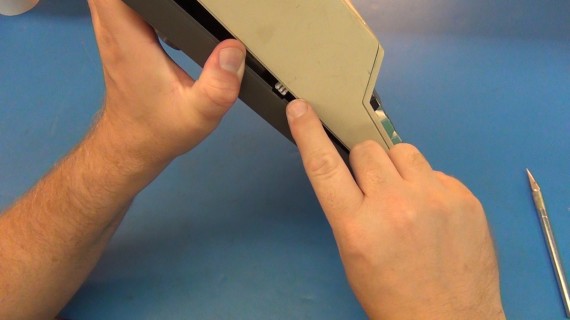
To get the case open you need to remove the two screws from the bottom and then push on the light tan (yellow) sidewalls to pop the internal clips. Then lift and slide the upper case forward to unhook the three front clips.
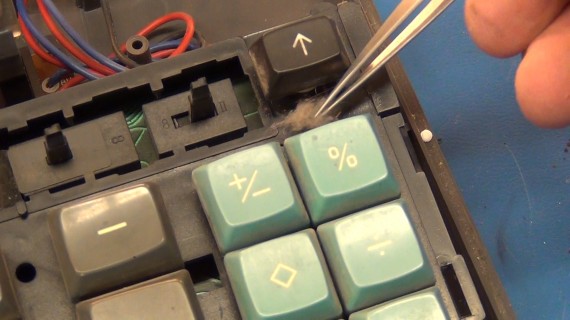
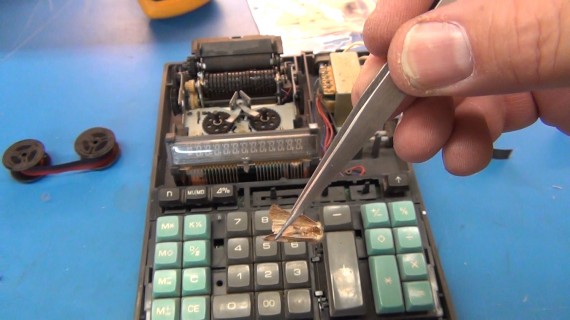
The filth was amazing in inside. I had to pull a small cat out from under the keys using a tweezers. Then blow it clean with my air compressor. I should have done that outside (hack/cough)!
Lots of little critters as well. WOW.
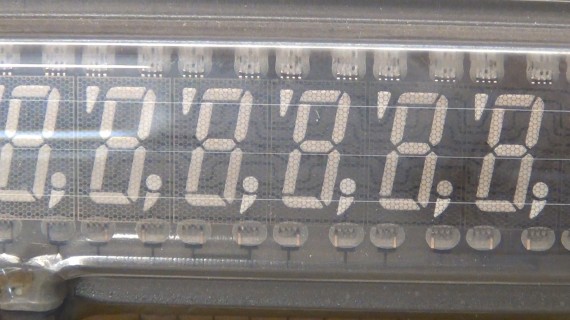
This is the vacuum florescent display. It works by apply a voltage between the back plan and front honeycomb grid. There is a white phosphors material shaped like 7 segment digits, commas and period shapes. The sections that get voltage applied will glow very bright and is easy to see in a well lit office, near a window or even outside on a sunny day. These displays are the best for visibility.
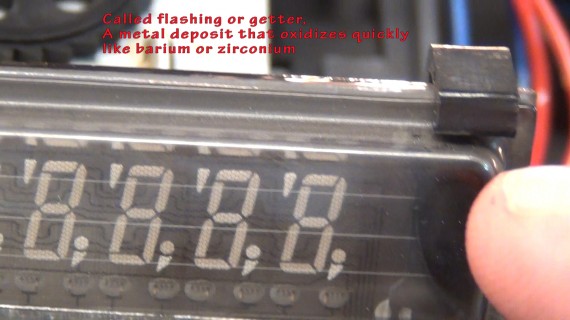
The black burn looking mark under my finger is common for vacuum tubes. This is not a burn mark but a deposit of metal normally barium called flashing or getter. After the vacuum is created in the tube and the tube sealed air tight there is still some impurity air in the tube. They heat this deposit from the outside and it will react with the remaining gases and remove them making an even higher purer vacuum. Plus if you use barium if you ever get any small leakage it will help remove those gases as well.
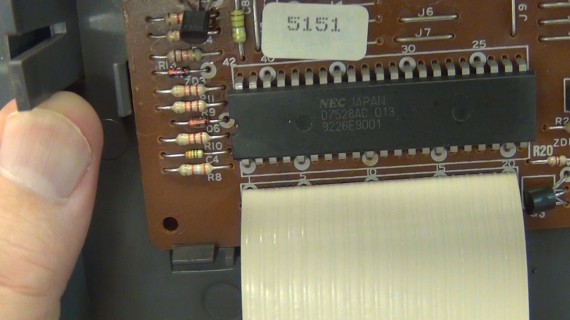
This is the main chip that does all the calculations, keyboard, video… well everything. It is a NEC D7528AC microcomputer with built in FID for vacuum florescent display control. It is an 4bit programmed controller and has a date code of 1992 26th week. This makes my calculator 20 years old.
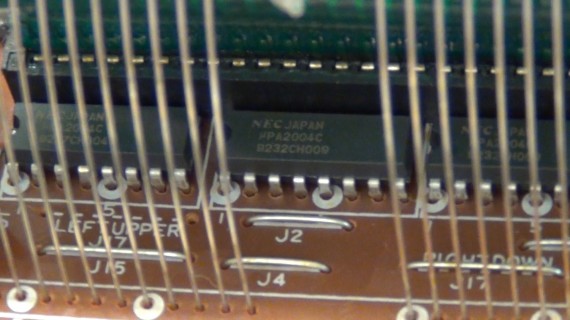
The control chip doesn’t have the driving power to drive the paper printing pin solenoids so these Darlington transistor chip array are used (NEC uPA2004C). The controller simply powers one of the transistors on the chip and the transistor then pulls the pin solenoid that selects the drum cylinder digits as the drum spins around. The video shows this better than I can describe here sorry.
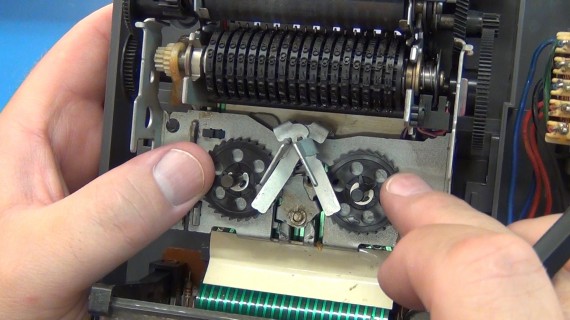
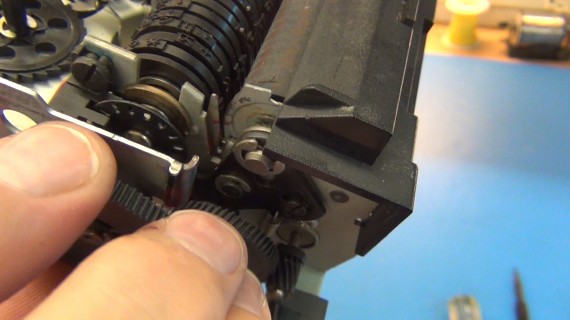
The printer uses a two color ribbon for printing. The ribbon is on two spools that are driven back and forth by mechanical cogs as the printer mechanism runs off a single motor. I was able to pickup new ribbon on the bobbins at Staples for $6 because many desk calculator printers today still use this style of printing.
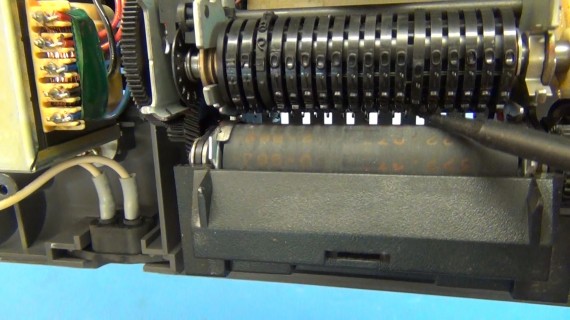
I’m trying to point at the pin solenoids under the drum cylinder that selects the digits as the drum spins.
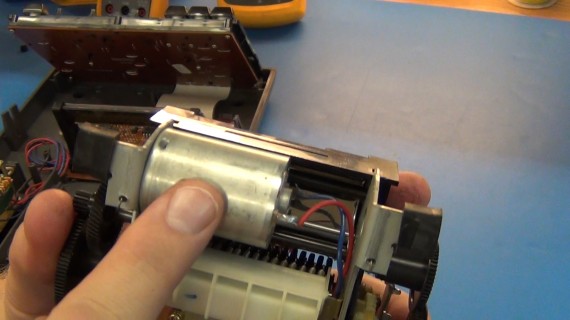
This is the single motor that runs everything! The operation of everything mechanical engages off this motor with cogs, shafts and cams.
There is one optical sensor that is able to count the rotations and sense the home position of the drum cylinder. This is how the controller knows when to fire the Darlington transistors to pick the exact digits needed for printing.
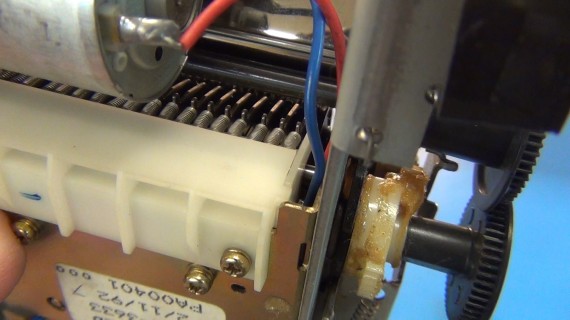
In this photo you can kind of see the spring loaded digit select pins which I’m calling pin solenoids. When they turn on they select (hook) the current digit for the disk at that position on the drum cylinder. Disks that don’t get select continue to spin with the whole drum until they get to the blank spot so nothing in that position will print.
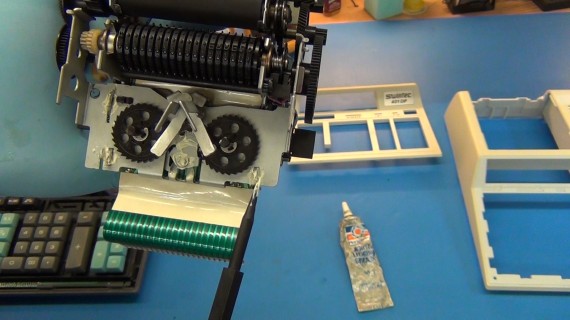
After a real good brushing with 99.95% isopropyl alcohol I had to apply new grease to all the wear points. I used white lithium grease from the local auto parts store.
I did get this real clean but the case still has a bit of that old yellowing.
All cleaned up and ready for another 20 years.
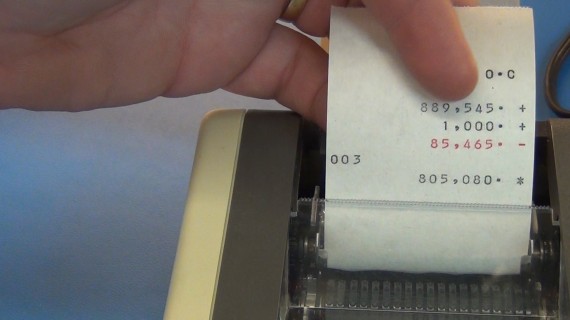
Printer is working great and in both colors, nice.
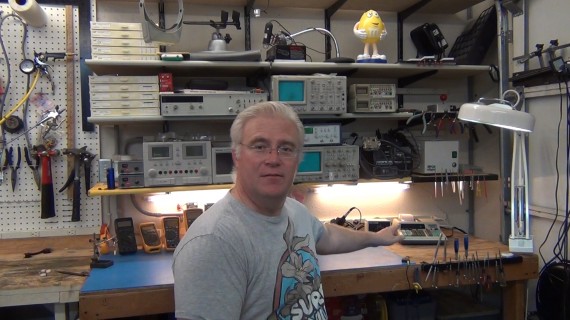
There is its new home on my tech bench. It was a stones throw from being trash and now it will work its little heart out for another few decades.
Thanks for joining and don’t forget to give thumbs up on the video if you liked it and subscribe to my YouTube channel at user (toddrharrison).

