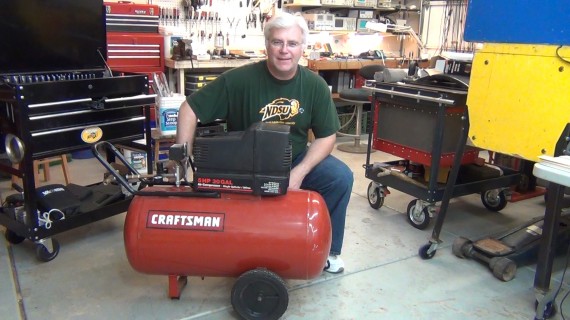
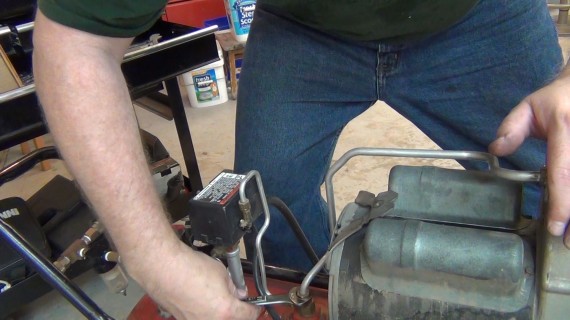
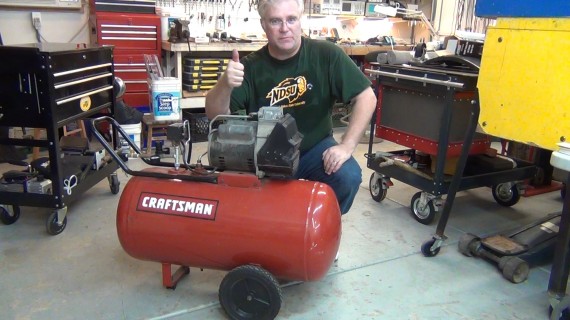
In this video I rebuild my Craftsman oil free air compressor for ~$47 USD. This is a ~12 year old compressor that could no longer get up to pressure and would have cost over $350 to replace. Well that was the cost over 12 years ago. I couldn’t find a 5 HP 30 gal model like this on the market anymore. The only 5HP models were over $1000 and more gallons.
You can also find another good Craftsman air compressor rebuild video of a smaller model here: http://www.youtube.com/watch?v=zUw7r0fJqIc
My compressor is a 5HP 30gal model 919-165300 and I was able to get the rebuild kit from http://www.searspartsdirect.com
You will need a long Torx T20 driver if you don’t want to hack up your cover like I did.
You can find your Craftsman model number affixed to the side of your compressor. You type this model number into the web page and select search by model number. Then pick your rebuild kit which should come with the piston, cylinder sleeve and new rubber rings. Not all these bits may be bad on your compressor but if you’re taking it apart why not replace all the ware parts for one kit price.
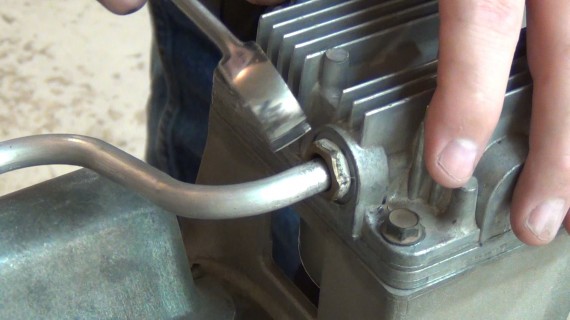
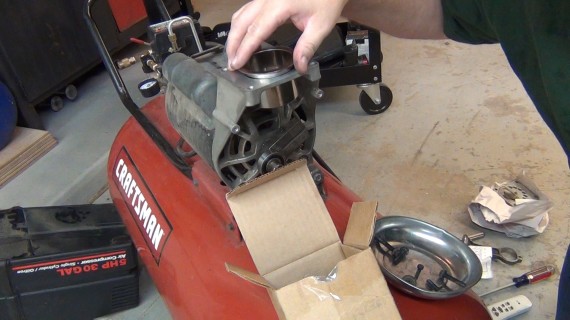
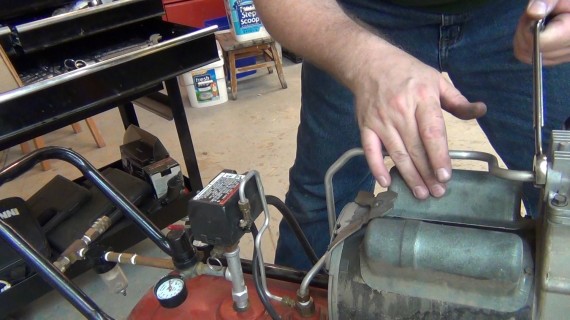
Unplug your compressor, drain all the air and take off the plastic cover. I had a dog of a time with my plastic cover but you can watch the video if you want to hear more. Then remove the fill pipe.
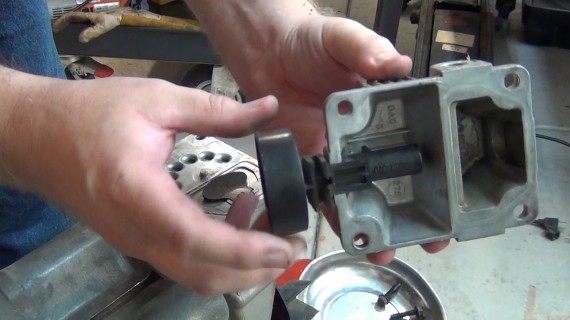
This is the top of the cylinder head. The large side is the intake and the smaller side is the compression exhaust side.
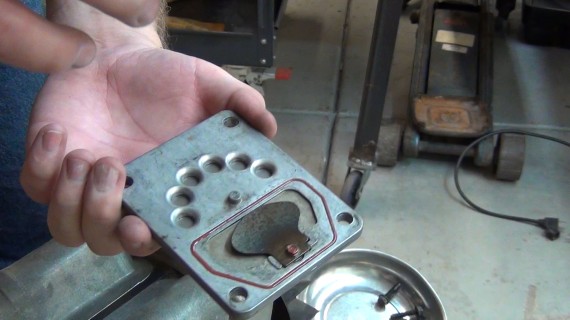
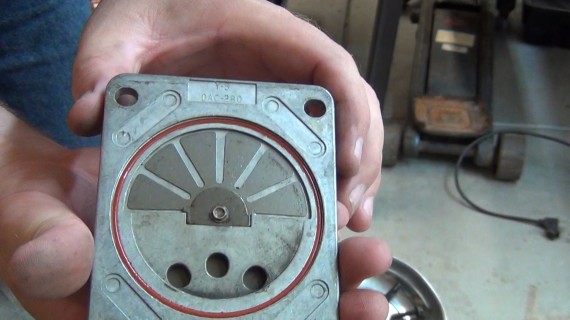
Below is the top of the valve plate assembly and it is what controls the in/out of the air flow as the piston compresses the air. The valves open and close as air is sucked in and then compressed out into the tank.
And this is the bottom of the valve plate.
CLICK TO READ ALL —>:
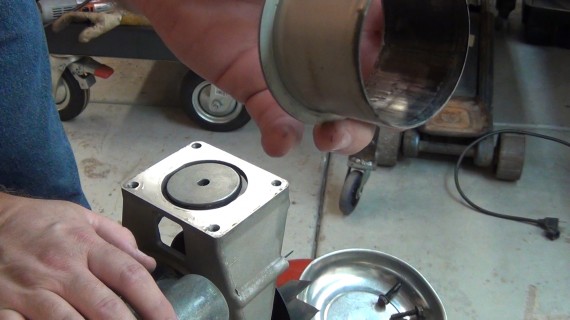
Here you see the horrible scoring on the inside of my old cylinder wall.
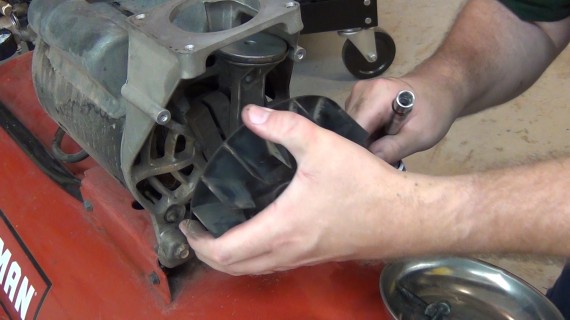
Next take of the blower fan
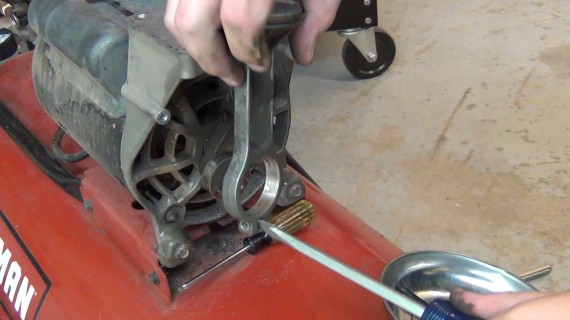
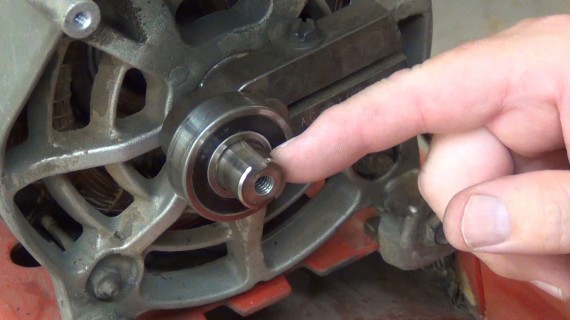
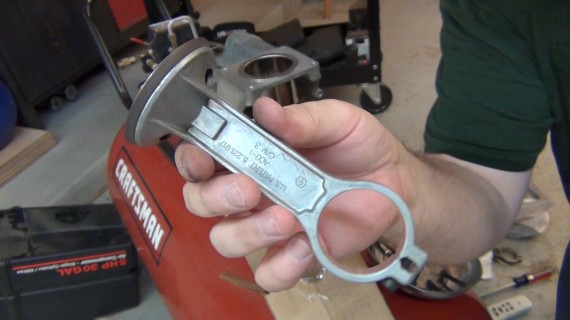
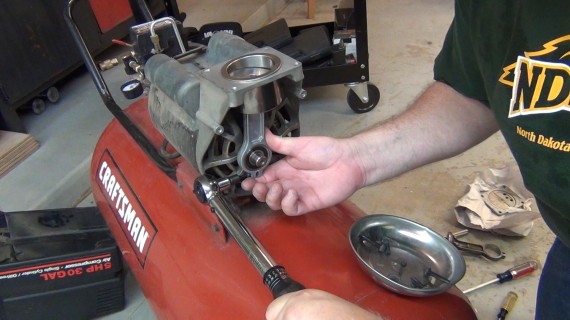
Then take off the piston rod. After removing the screw I used a big screw driver to twist open the base and slide it off the bearing.
My bearing was fine but if yours is bad you can order that from the same site. Putting it on might be a bit of a job but a machine shop would be able to help with that step.
Put the new cylinder sleeve in.
This is the new piston with Teflon ring. You can get this with or without a new bearing.
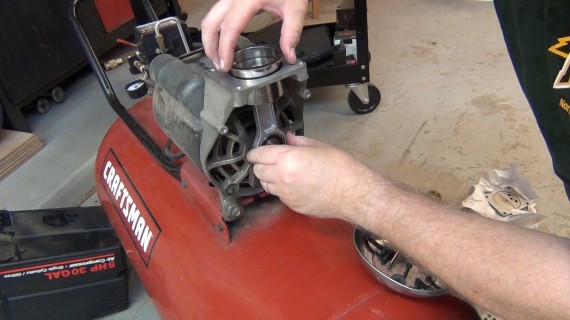
Carefully put the piston in the cylinder sleeve and attach to the motor shaft.
Torque the motor shaft nut to 45 inch-lbs.
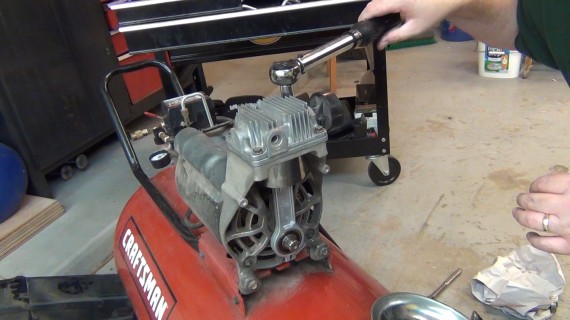
Torque the cylinder head on in a star pattern to 120 inch-lbs.
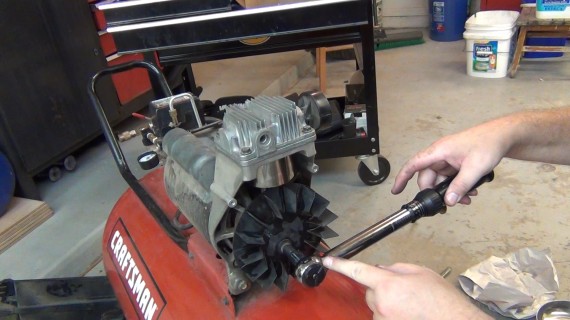
Torque the blower fan to 45 inch-lbs.
Put your filler pipe back on at the top.
And at the bottom going into the tank.
Finally put the plastic cover on but you will see in my video I modified my cover. Like I said I had problems with the stupid plastic cowling.
Good for another 12 years of service.
Thanks for following and remember to subscribe to my YouTube videos and RSS feed.
Todd Harrison

