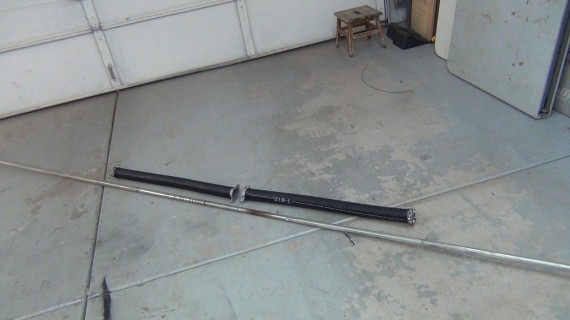
I show how I replaced my broken garage door spring. This is VERY DANGEROUS so don’t try this yourself! You could kill yourself if you do something wrong. The spring is loaded with energy when in the down position and thus assists the garage door motor when opening. The weight of the door will load the spring when closing. Without a lift spring the motor either couldn’t lift the door or would burn up trying.
My door was made by Wayne-Dalton and they cut and sell the new torsion springs right at their Tempe, AZ store where I got mine.
Wayne-Dalton Residential Garage Doors 402 West Geneva Drive Tempe (480) 966-4577 http://www.wayne-dalton.com/index.html
Each spring cost $75 and are made from long life cycle spring stock not the junk spring stock the contractors quote you for their bottom line repair price over the phone. The springs are sized, cut and matched, if more than one, to your door so that the loading equation is always the same. One full spring rotation for each foot the door is high. Easy-peasy-lemon-squeezy
Not much more to add here so just watch the video for all the details.
These are my two new torsion springs with end cones ready to go on the winding bar.
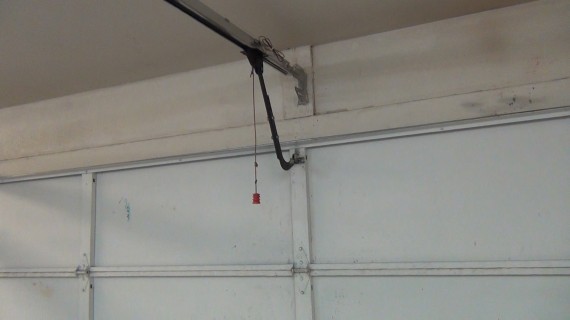
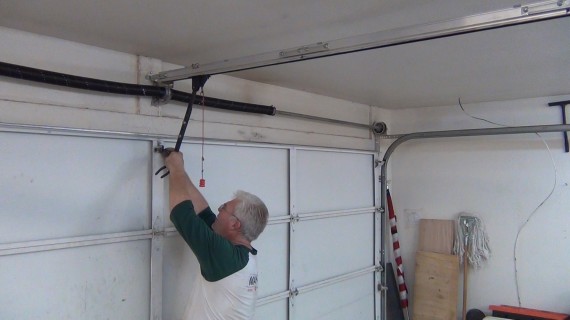
When the spring broke I unplugged the motor so that step was already done. Below is the lift bar that connects the door to the lift motor gear and has to be removed during installation.
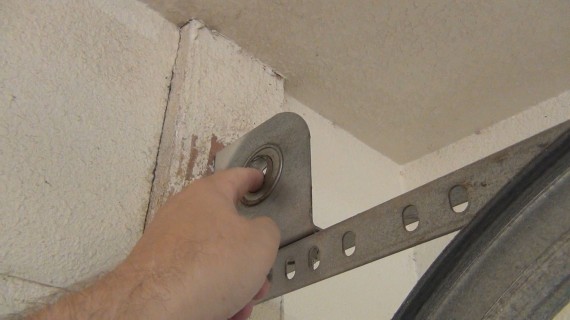
Before putting up the winding bar I check the end bearings.
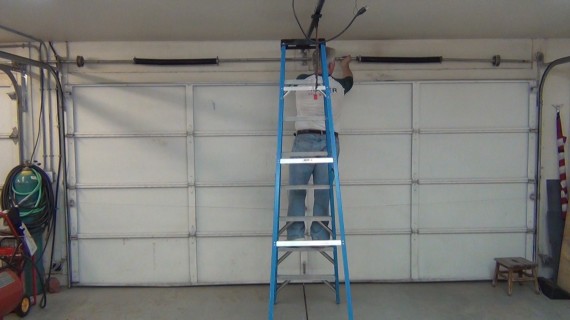
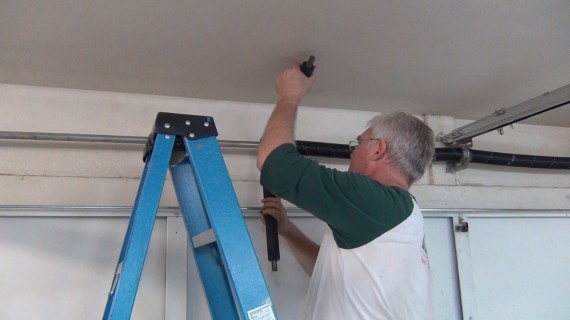
This step would be easier with two people but one person can put up the winding bar.
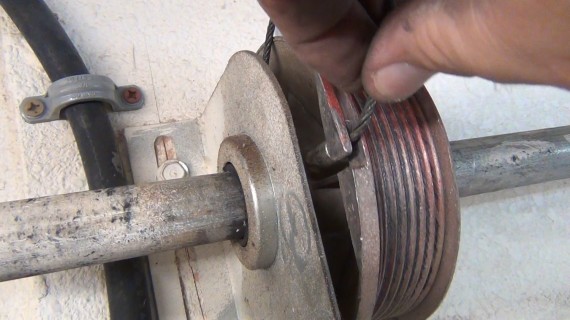
Here I’m putting on the lift cable to the cable roller.
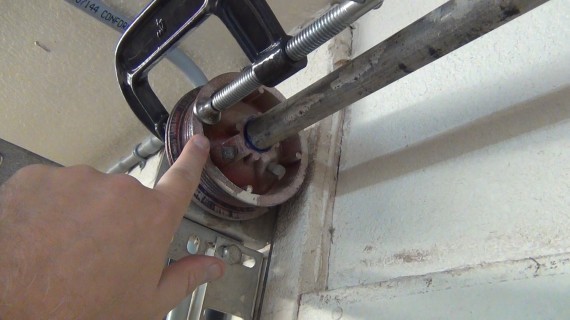
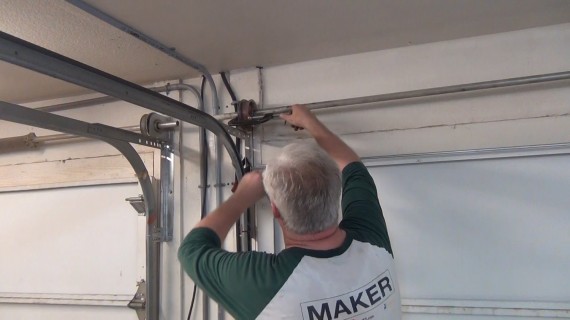
After attaching the cables to both cable rollers I take all the slack out of the cable and clamp the cable rollers to the brackets. Then tighten the cable roller set screws to the winding bar. Just a note: I don’t clamp the roller hard, just enough to keep it from moving until I started loading the springs.
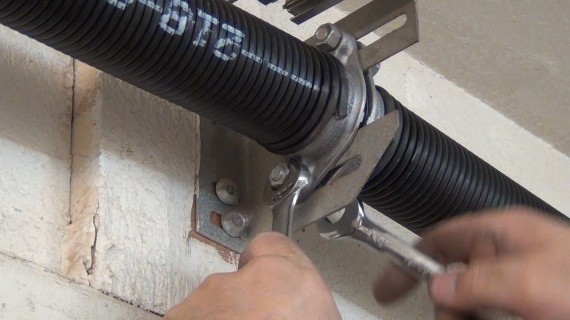
Here I’m attaching the torsion springs to the spring anchor in the middle of the garage door. This anchor bracket needs to be bolted solid to the wall because the springs apply all their torque to this anchor and you don’t want it ripping out of the wall. If it did it would spin like a saw blade hacking up anything to close.
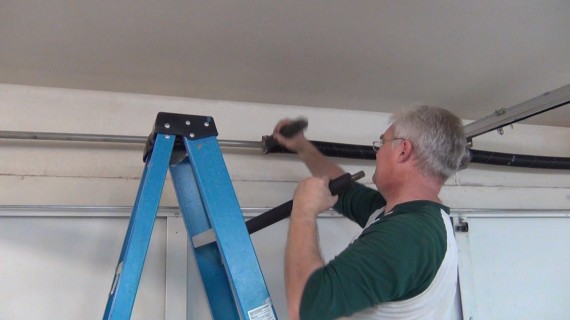
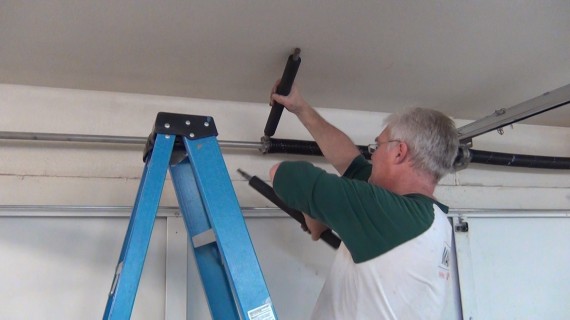
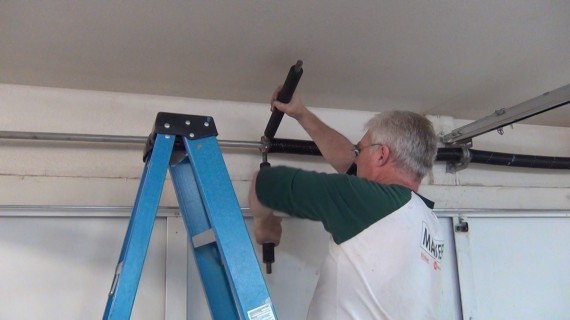
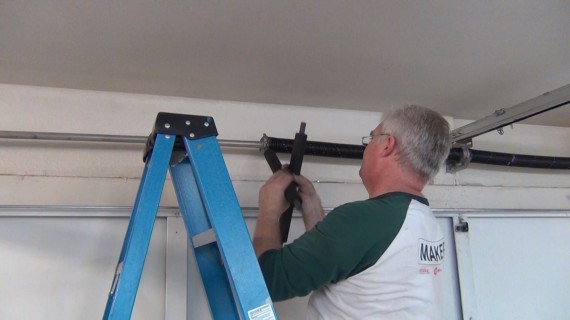
Scroll through the next few photos to get an idea how I use these large roller pins to load the springs. After loading with 7 rotations I tighten up the set screws on the spring cones. I counted 7 rotations because my door is 7 feet high but I could have just counted the swirl lines being these new springs had a white line down one side. Older springs don’t have this line but you could add it yourself I guess.
I removed my C-clamps.
Attached my lift bar.
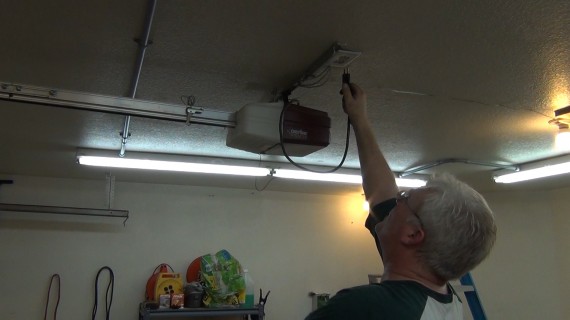
Plug the motor in.
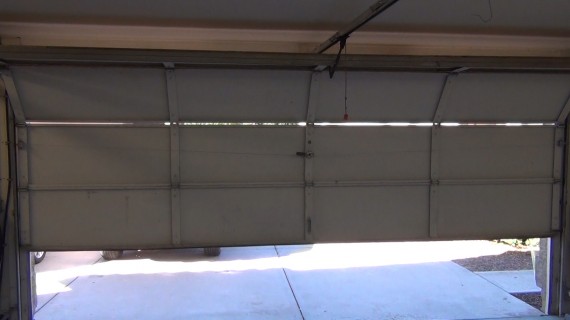
And it is working again!
Thanks for joining and remember to subscribe to my YouTube channel and my ToddFun.com RSS feed.
bye!

