
Search results for "arduino"
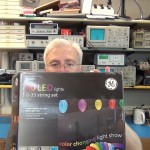
Make your GE G-35 LED Christmas lights fully programmable and controlled from your iPhone. This hack is very much like the commercial LumenPlay product but allows full custom programmable control of colors, patterns, timing and locking.
Below is a 4 min demo of my new programmed Christmas light patterns.
You can do this hack yourself by following the below instructions. If you don’t want to hack this together yourself you can still buy a similar product called LumenPlay, you just will not have the full programmable control.
Products needed for this hack:
One or more sets of GE G-35 Color Effects LED Christmas lights. Any bulb count and style will work once you set the bulb count in your sketch. This hack should work with any GE G-35 LED light set but your mileage may vary, no promises from me! If you see 3 wires (5v, ground, data) going to each and every bulb in series with such lights this hack should work.
RFD90101 RFduino 2pc Dev Kit containing:
1 RFD22102 RFduino DIP
1 RFD22121 USB Shield for RFduino
An iPhone or other device that can run the “RFduino Colorwheel” app.
Software needed for this hack:
You have to use Arduino 1.5 IDE or newer. If you currently have the Arduino IDE you must start this setup with the IDE application closed.
If needed, install the ftdi USB driver for your computer system.
You must download the latest RFduino hardware plug-in and libraries from Github. Click the “Download ZIP” button on the right side of this Githup page.
Unzip and copy this downloaded “RFduino” folder into this relative folder on your computer for the current version of the Arduino IDE you are using. I was using arduino-1.5.8 so my relative path was “C:\(???)\arduino-1.5.8\hardware\arduino\RFduino\”
You will need my library:
Download my library and install following arduino.cc standard library add-on instructions.
You will need my sketch:
Download my Christmas program sketch. Unzip and put these in your Arduino sketch folder with your other other Arduino sketches. My relative folder on my PC was “C:\(???)\Documents\Arduino\ToddFun_GE_G35_XmasLights\ToddFun_GE_G35_XmasLights.ino”
To control the RFduino from your iPhone or other device using bluetooth you need to install the “RFduino ColorWheel” app or similar app that can send RGB color codes to the RFduino.
FYI: My library and sketch are based on this Instructables and on MEO’s library but with heavy modifications. Per MEO, his library is based on Mike Tsao’s “sowbug” library which used original code by Paul Martis. DO NOT USE the G35Arduino library or samples sketches from the Instructables posting, they were a good start but will not work for controlling a Christmas light display.
Construction:
Wire up the G-35 lights as noted in my video.
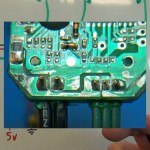
In the video I solder a short jumper directly to the 5v USB connector on the PCB.
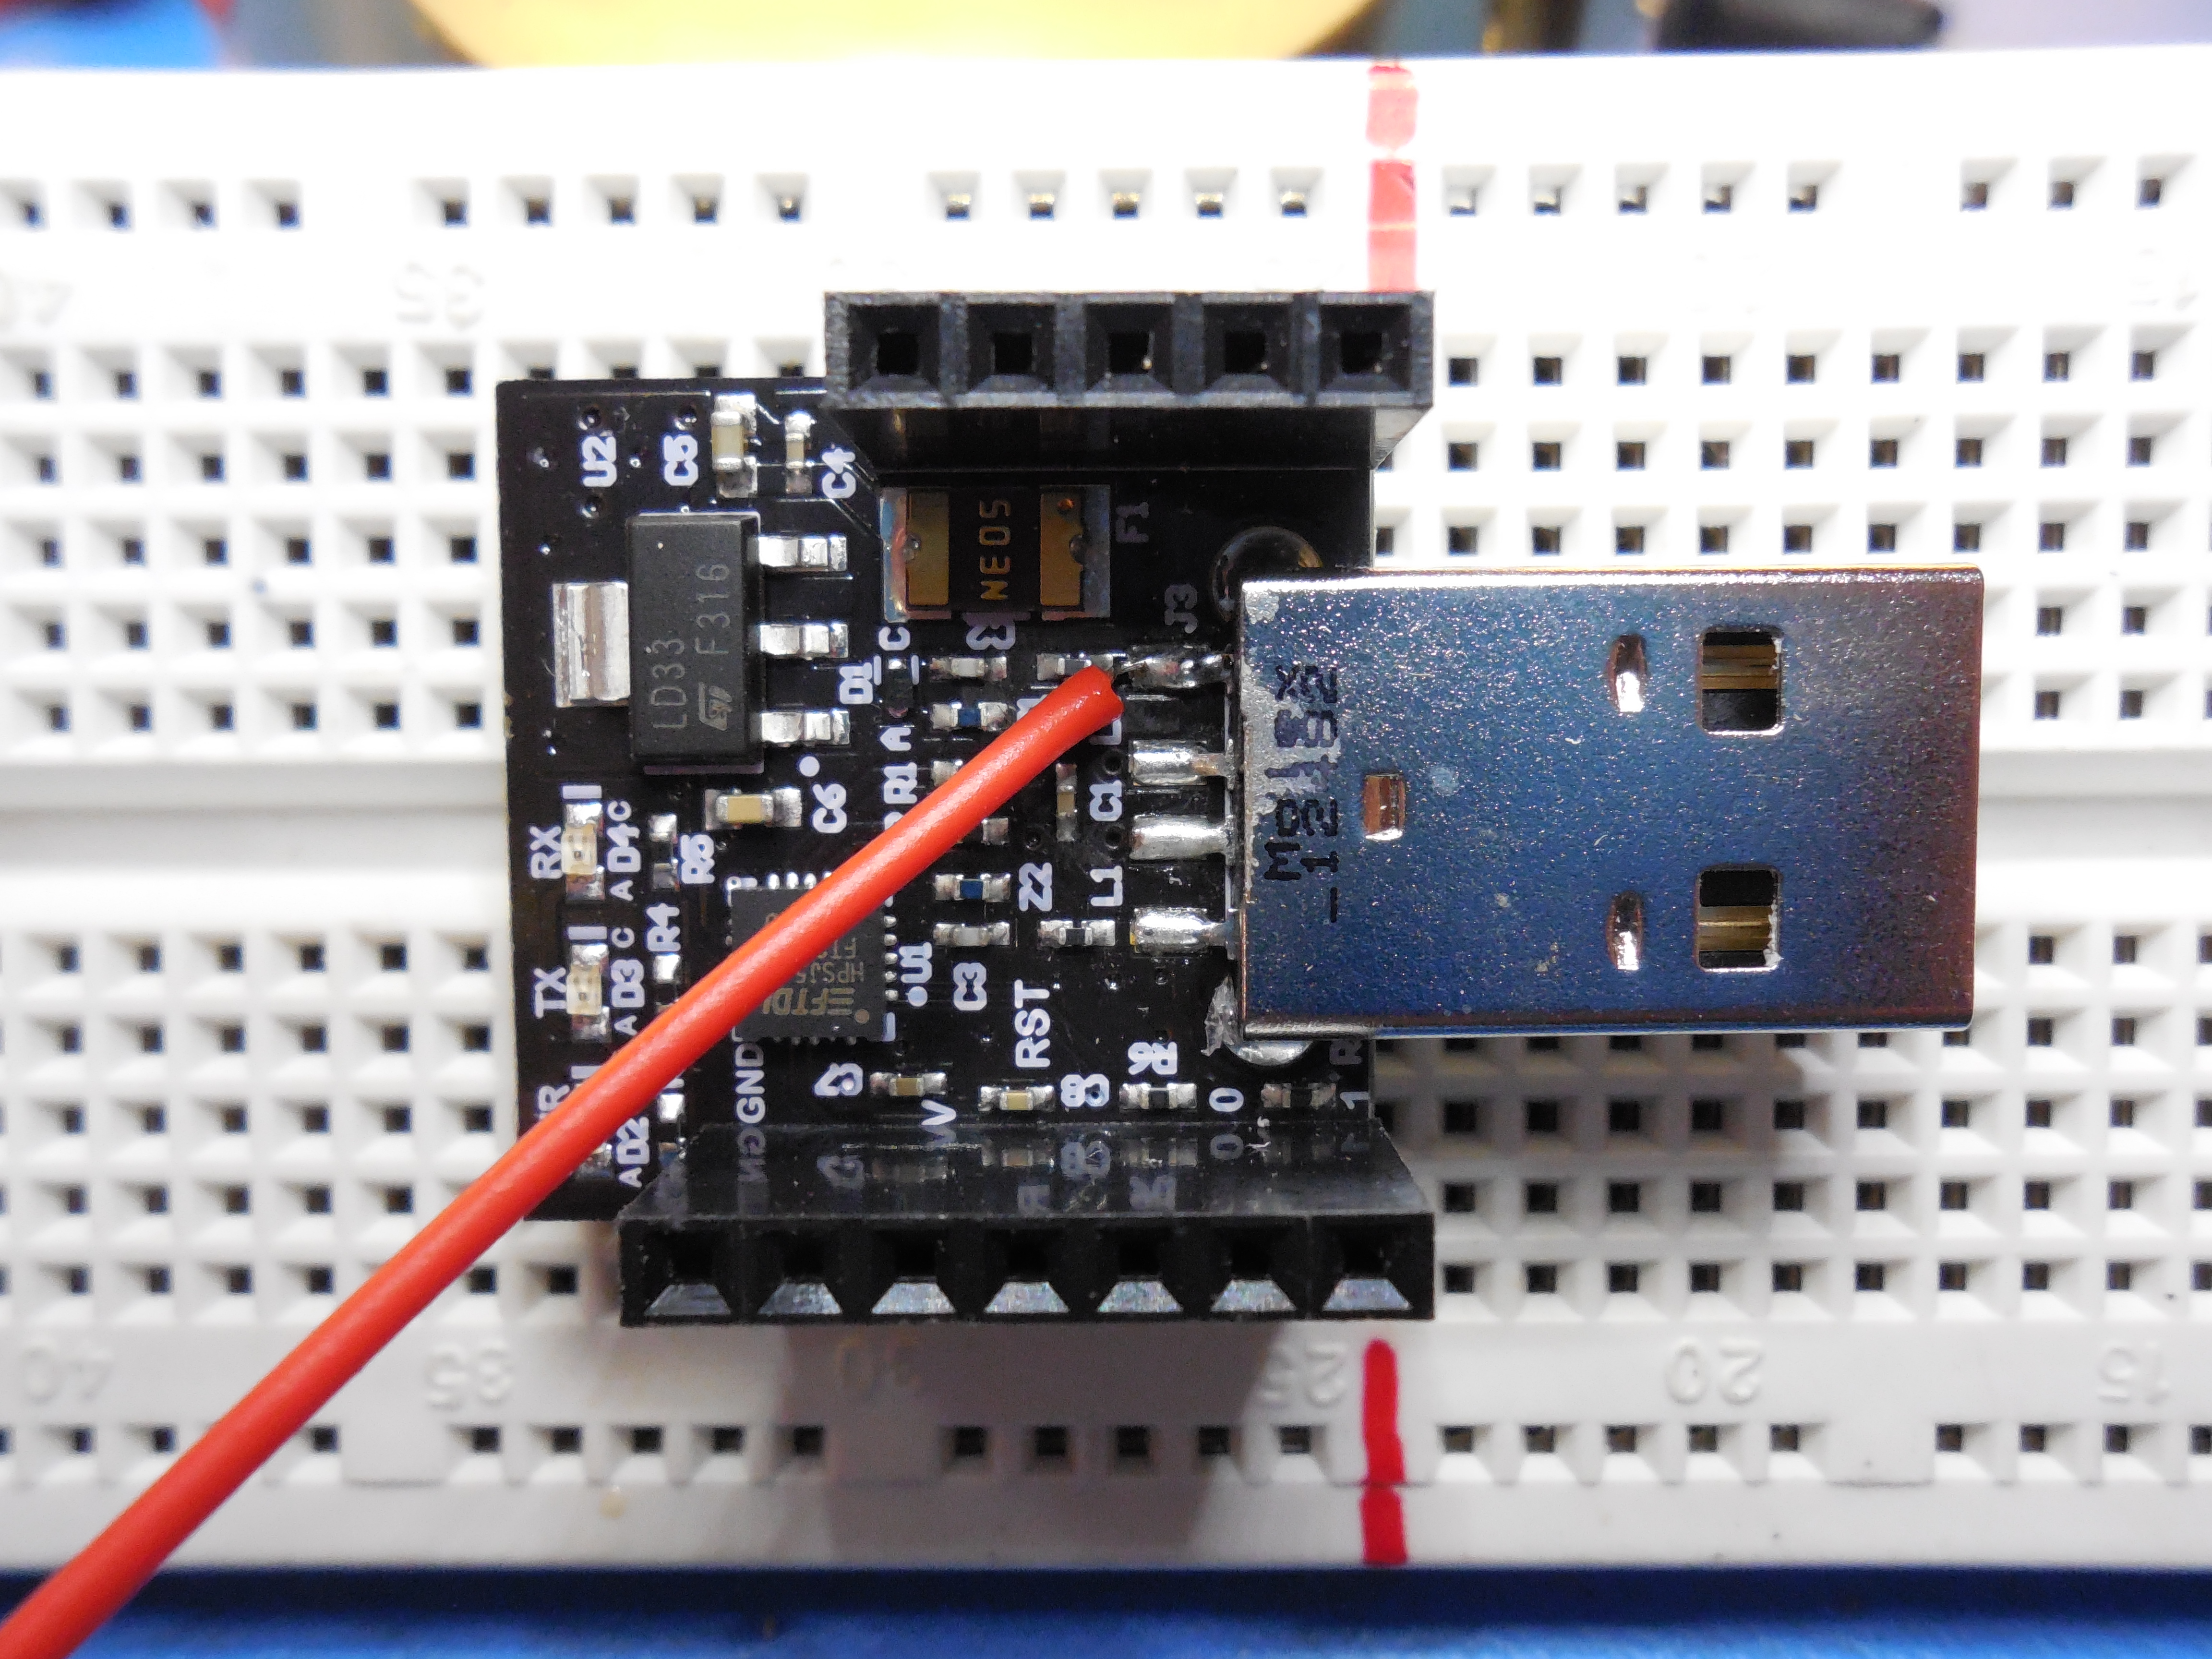
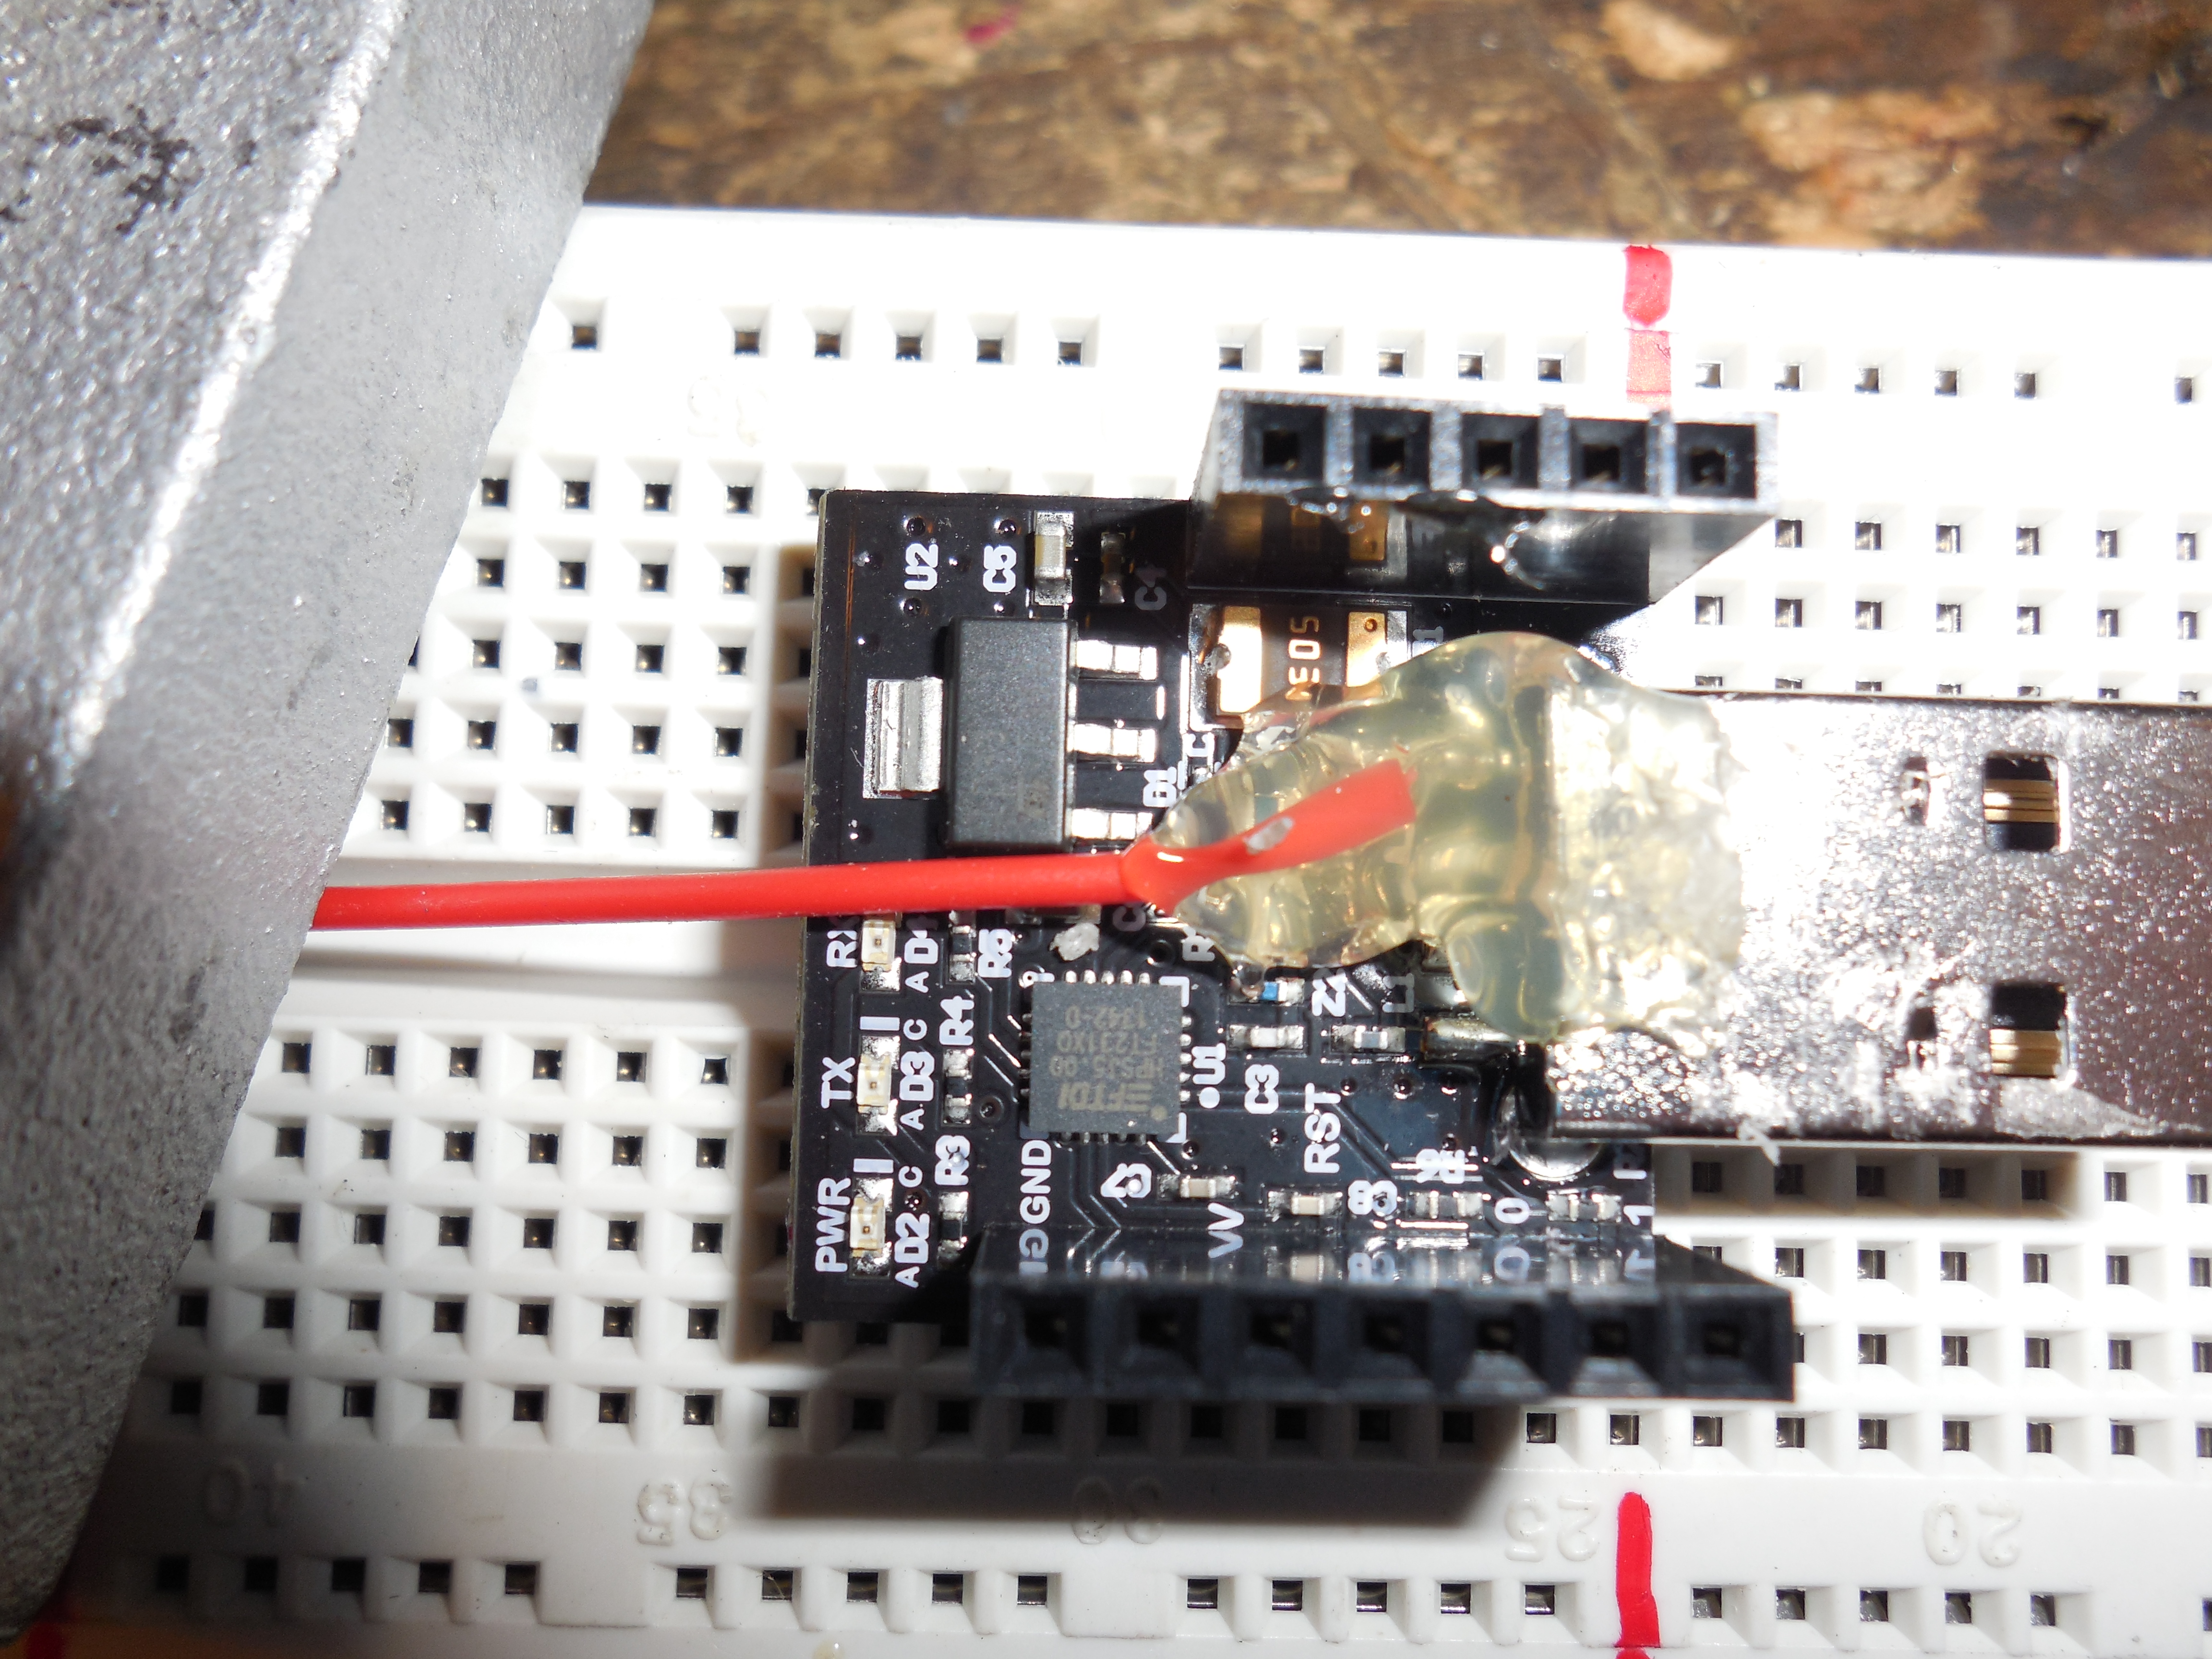
Many will find the fine solder job too delicate. I recommend chopping the female end off a cheap USB extension cable and tying the 5v and ground wires from the chopped USB cable end to the GE G35 power brick’s 5v and ground wires. Then it is much easier to plug in and you only need to connect the one data wire. Using either of these wiring methods you don’t need batteries or a 2nd power brick to power the 3v RFduino because the USB Shield for RFduino has a 5v to 3v regulator and you will be getting 5v for the RFduino from the light’s 5v power supply.
For my Christmas sample sketches you will use ground and GPIO(6) on the RFduino. Any ground point will work.
Programming the RFdunio:
Plug in your RFduino to a USB port on your computer then start up the Arduino IDE 1.5 or newer version. Pick the RFdunio board from the <<Tools/Boards>> menu option. Pick the correct com port the RFduion is connected on from the <<Tools/Port>> menu option.
Open my Christmas sample sketch from the <<File/Sketchbook/ToddFun_GE_G35_XmasLights>> menu option. You may have to edit the sketches before uploading to have the correct light count: #define LIGHT_COUNT (50). Then click the Upload button to upload the sketch to your RFduino. When done programming, remove the RFduino from your computer and connect to the lights as seen in my video.
Using the program:
From your iPhone start the RFdunio ColorWheel app. You DON’T need to pair your iPhone with the RFduino using your iPhone bluetooth settings. If the RFduino is close by, powered up, wired to some GE G-35 lights as noted in my video and running my sample sketch you should see one bluetooth signal named ToddFun. Simply tap the signal displayed to start communicating with the RFduino over the bluetooth connection and change your Christmas light colors and patterns.
I have 25 Christmas patterns programmed which can be selected by setting the r,g,b color sliders to zero then tap the number box for just the “r” slider to bring up your keypad. Enter program numbers (1-25) as the “r” color to switch between the 25 programmed patters. Or just tap any spot on the color wheel to set a fixed color. Entering r,g,b = 0,0,0 starts a demo program cycling one time through all programmed patterns showing each pattern for 10 seconds. When finished with the demo cycle mode it will revert back to the saved cycle duration period and continue cycling.
Users can toggle a lock mode on or off by entering r,g,b = 55,55,55. You can program your own lock code in the sketch so long as the first number is greater than your program count. Upon changing the lock mode all current features are saved including lock mode, cycle duration, cycle mode and current color or pattern. Entering r,g,b = 55,55,56 will save all current features including lock mode, cycle duration, cycle mode and current color or pattern. Entering r,g,b = 55,55,57 initiates program mode. When in program mode the next 3 numbers entered for r,g,b sets the standard cycle time in hours, minutes, seconds accumulative. So if you enter 55,55,57 followed by 0,2,30 you will have a 2 minute and 30 second cycle time. Upon changing the cycle duration the cycle mode is enabled and all current features are saved including lock mode, cycle duration, cycle mode and current color or pattern. Standard cycle mode can be started at any time by entering 255,255,255. If the user enters anything other than 0,0,0 or 255,255,255 and is not entering one of the interactive modes above then cycle mode is cancelled. This mode change is NOT auto saved so a reboot or watchdog reset will revert to the saved settings in micro-controller’s flash page.
You can see my Christmas program pattern picks in “ToddFun_Programs.cpp” library file. (see Readme.md for full list of choices).
1: Christmas Switching – Snoopy’s house in “A Charlie Brown Christmas”
2: Christmas Twinkle – Purple Orange Green
3: Christmas Switching – Red Green
4: Candy Cane Wave
5: Green Phasing
6: Red & Green Chasing
7: Red to Green Dither
8: Red, Green & Blue Chasing
9: Red, White & Green Chasing
10: Red, Green, Blue & Yellow Chasing
11: Red, Cyan, Green, Magenta, Blue & Yellow Chasing
12: White Twinkle
13: Christmas Starlight
14: Cold White Icicle – Slow Pulse
15: Slow Pulse
16: Full Rainbow
17: Full Rainbow Interlaced
18: Autumn Rainbow
19: Colour Wheel Smooth
20: Always Changing
21: Blue Phasing
22: Green to Blue Dither
23: Blue Wave
24: Subtly Changing Pastels
25: Brad Harri Fall Colors
Extra:
There are other patterns in the ToddFun_GE_G35_XmasLights_Library files you could add-in, remove or alter to use for any season. Just change the program listing, ProgramCount and switch-case statement in the “Program.cpp” and “Program.h” files. You could also create and add your own new library pattern program files!
If you also want to share your lights with others in your neighborhood feel free to post my public instruction document (PDF).
LINK to my old Review And Teardown of G35 LED Christmas Lights.
LINK to my old Simple Parallel Sync Hack for the G35 LED Christmas Lights.
Some important links:
http://www.rfduino.com/
http://www.rfduino.com/product/rfd22102-rfduino-dip/
http://www.youtube.com/user/OpenSourceRF/videos
http://www.kickstarter.com/projects/1608192864/rfduino-iphone-bluetooth-40-arduino-compatible-boa
https://github.com/MarkEMarkEMark/G35-MEO-Programs
https://github.com/sowbug/G35Arduino
http://www.digitalmisery.com/2011/11/ge-color-effects-arduino-library/
Thanks for joining.
Have fun!
www.ToddFun.com
Just a short update video letting my YouTube subscribers and Blog followers know why I haven’t been posting content for about the past 1/2 year. My next post will be a video update on the Kenwood TS-520S HF Ham Radio Arduino Frequency Counter PART 5. So you can look forward to that shortly. As always – “Thanks for joining, subscribing, following and thumbs up ratings.
Link to Steve’s website: http://www.kv6o.com/
In the video I mention I will post an inventory list of my vacuum tube collection so if a viewer needs one they can submit a request. I don’t have the list ready but when I do I will post a link to a PDF below and try to keep the file updated.
I wanted to synchronize my GE G-35 multi pattern Christmas lights this year.
I did a full tear down last year of these lights and you can see that (here)
My biggest problem, aside from hating the 14 patterns GE forces on these lights, is that you can’t chain or synchronize multiple strings. So in my case I have two strings starting from a peak with one going left and the other going right. They say in the instructions you can synchronize two sets by setting the same pattern and then turning them both on at the same time. However within 30 minutes the patterns are no longer in sync on the two sides of my roof and that looks horrible.
This is a posting showing how I hacked two strings to use one controller and it is working great. The two strings can never be out of sync, COOL! I know others have done the same so I know this is a sold hack for up to 3 strings in parallel using one control box.
Of course others have gone much farther controlling these lights making their own control boards and adding network connection. I will link to them at the bottom of this posting
Instructions:
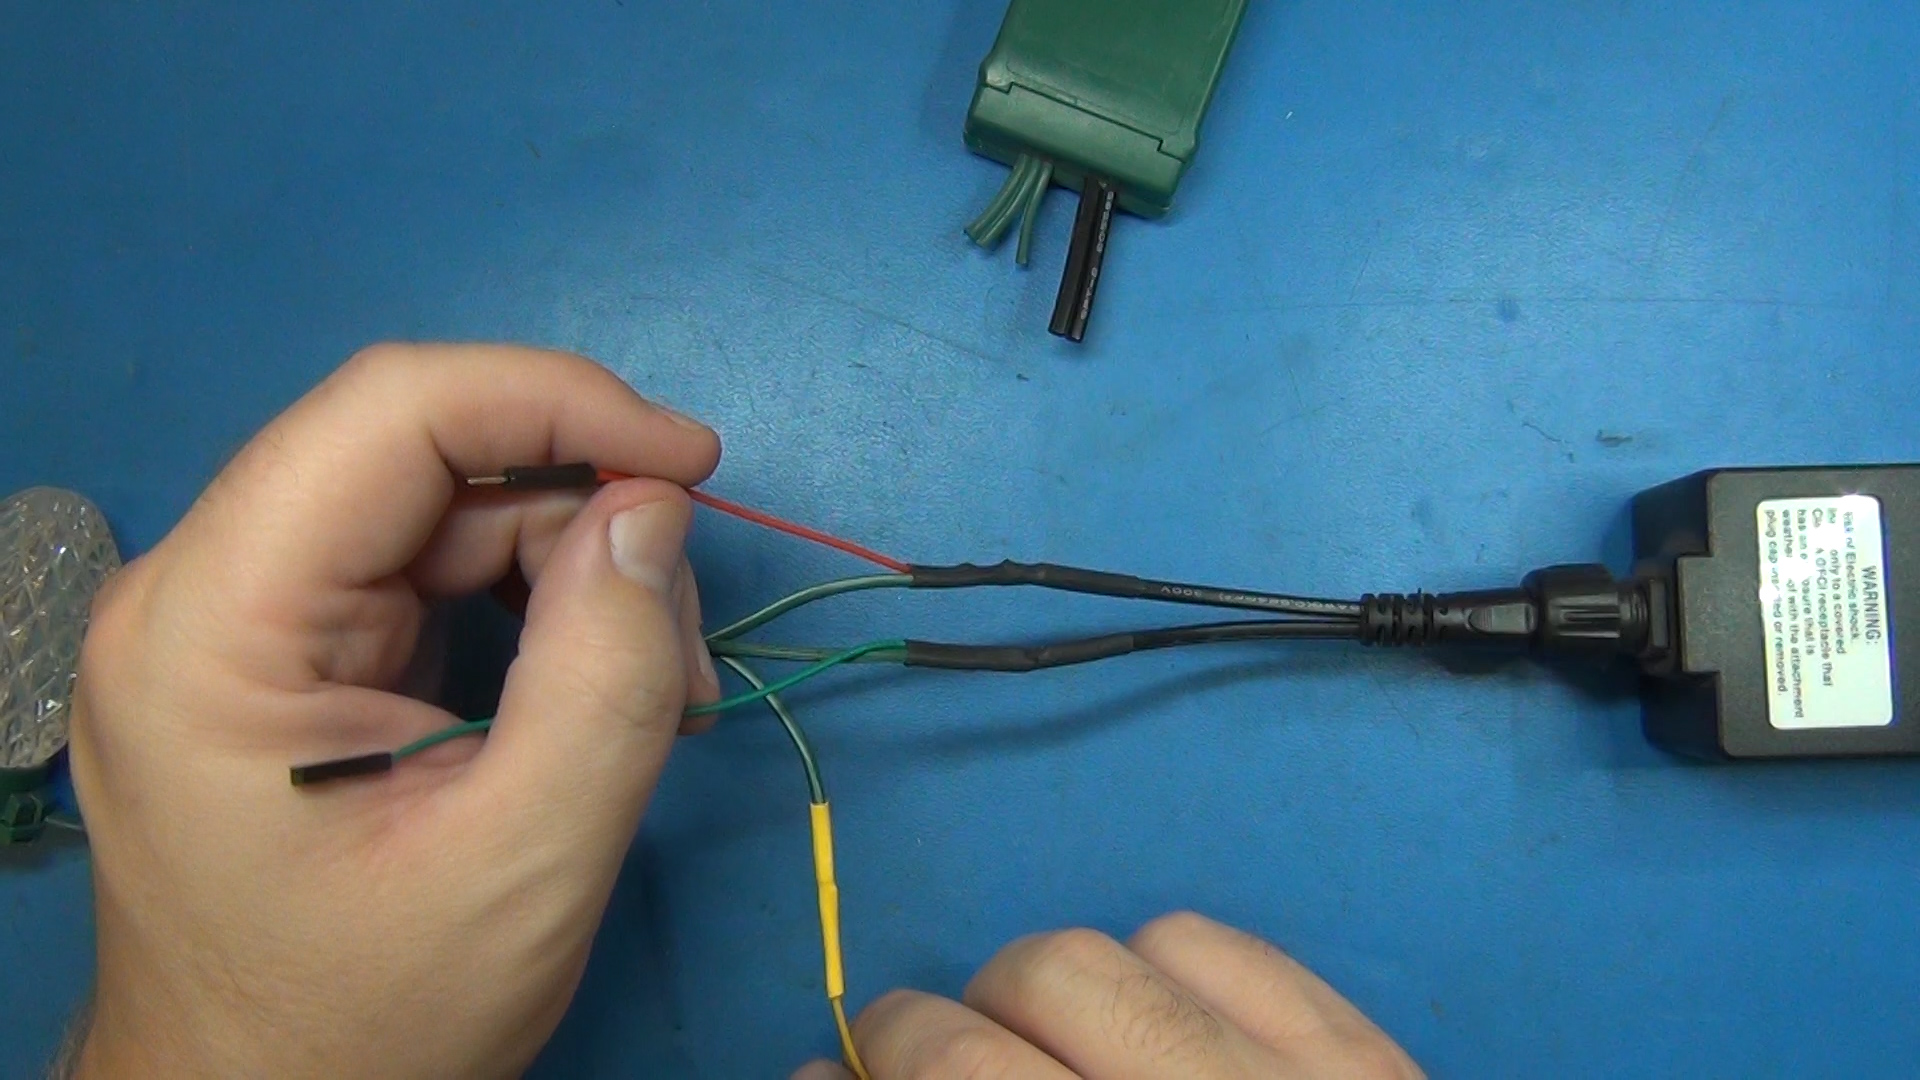
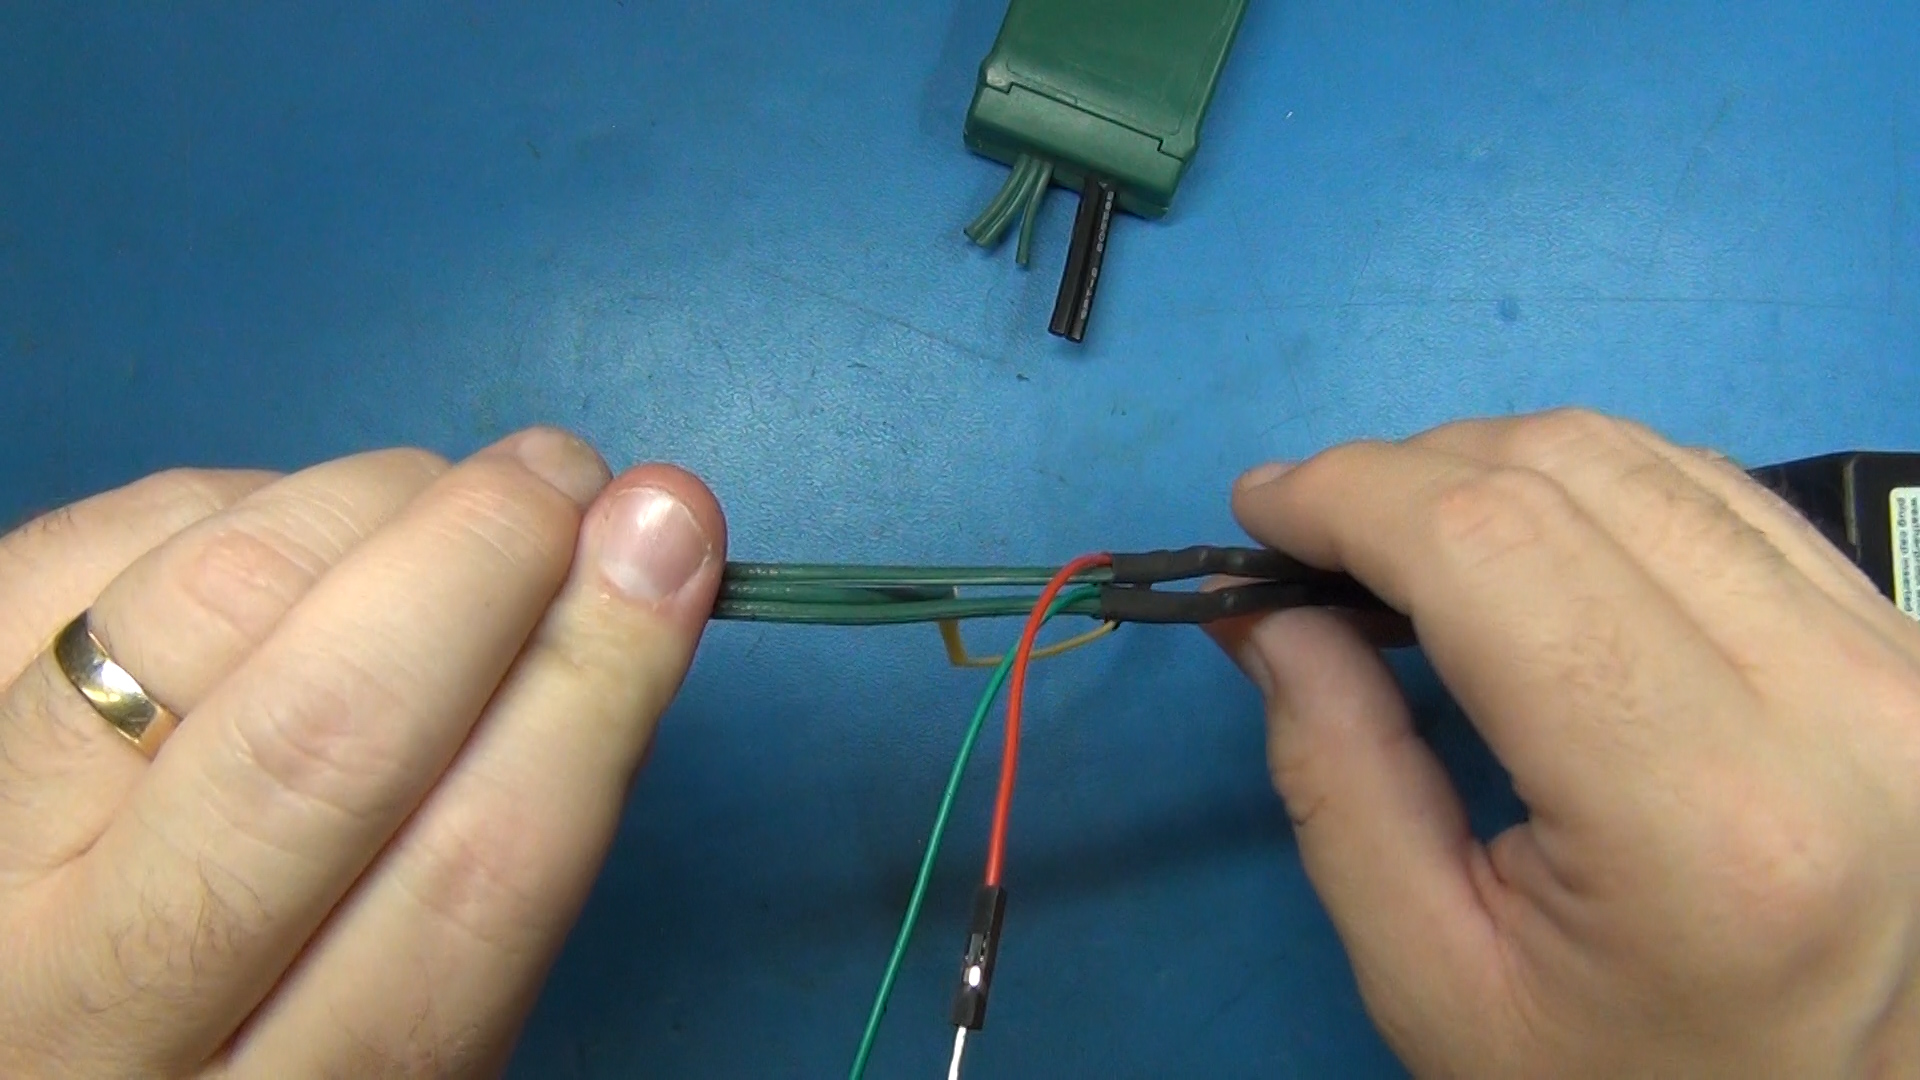
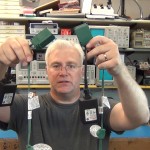
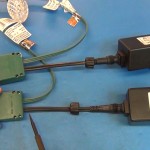
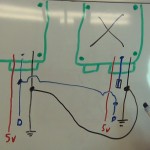
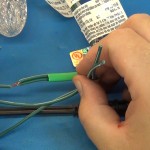
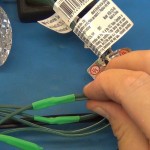
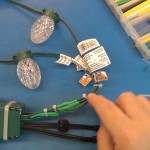
To do this hack you cut the ground and data lines going to the bulbs on both sets (don’t cut any power wires which have the faint white printing, see photo). Then terminate one data line coming out of one controller by sealing it in heat shrink. The data line is the middle wire to the lights.
Tie and solder the data line from the 2nd controller to both data lines going to the lights. Then tie and solder ALL 4 of the grounds together so that the circuits have a common ground. The ground is the right side wire when looking at the screw side of the controller box. The ground will be the wire that does not have any faint white lettering on it. Seal everything up with heat shrink.
You still have to plug in all the transformers because the lights need all the power. That’s it and now your parallel strings will always be 100% in sync.
Enjoy the video and let me know if you try this hack and how it works out.
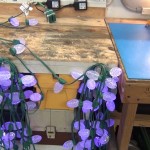
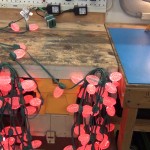
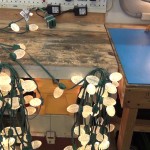
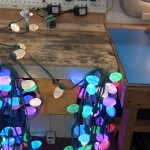
photo gallery
CLICK PHOTO for gallery view and click a SECOND time for hi-resolution image. Click thumbnails on low right and lower left of gallery to navigate gallery photos.


If you want to go down the rabbit hole more than I did I will keep some updated links below as I find them.
DigitalMisery.com has an open source drop in wireless replace board for these lights. WOW, you can’t ask for more than that. He does not sell the boards yet but keep checking his site to see if he gets a Kick starter going or just follow his open source documents and spin your own board. He links to his code and the Arduino library’s “G35Arduino”
DeepDarc.com put up some amazing engineering details on these lights and reverse engineered both the radio protocol and the protocol used on the LED data bus. You must read his post if you’re going to be hacking these lights. He also shares his code and other very useful tips.
Keithsw has some great stuff synchronizing 6 strands and shares his control code, Arduino circuit and a PC software simulator program to help design the layout and patterns. Here is his short (video).
CheerLights is an ioBridge Labs project that allows people all across the world to synchronize their lights. This sit gives all the hacking details and you can play along even it you don’t have lights by tweeting a color to @cheerlights and watching on ustream.
Jim at Jim’s G-35 Project Page makes his own control board using a PIC18F2620 micro controler.
If I have any of my own hack updates I will link to them from here and under “All Postings” with the title “G35 LED Christmas Light…”
UPDATE 11/11/2012 for EXTRA LINKS:
Good arduino example with new library – (digitalmisery.com)
11/21/2011: Added new Arduino IDE 1.0.1 supported code – (digitalmisery.com)
(github.com/MarkEMarkEMark/G35-MEO-Programs)
UPDATE 12/18/2012 for EXTRA LINKS:


Links for Beginners in Electronics }:-)
Archives
- April 2017 (1)
- March 2017 (3)
- December 2016 (1)
- November 2016 (3)
- October 2016 (2)
- September 2016 (2)
- August 2016 (4)
- June 2016 (1)
- May 2016 (6)
- April 2016 (1)
- March 2016 (3)
- February 2016 (4)
- January 2016 (3)
- December 2015 (1)
- November 2015 (5)
- September 2015 (1)
- July 2015 (2)
- June 2015 (6)
- March 2015 (1)
- January 2015 (2)
- December 2014 (2)
- November 2014 (4)
- October 2014 (2)
- May 2014 (1)
- March 2014 (5)
- February 2014 (3)
- January 2014 (1)
- September 2013 (2)
- August 2013 (1)
- July 2013 (4)
- June 2013 (3)
- May 2013 (2)
- April 2013 (1)
- March 2013 (3)
- February 2013 (2)
- January 2013 (2)
- December 2012 (1)
- November 2012 (8)
- October 2012 (5)
- September 2012 (1)
- August 2012 (1)
- July 2012 (2)
- May 2012 (2)
- April 2012 (1)
- March 2012 (3)
- February 2012 (2)
- December 2011 (2)
- November 2011 (4)
- October 2011 (1)
- September 2011 (1)
- August 2011 (2)
- May 2011 (2)
- April 2011 (2)
- March 2011 (2)
- February 2011 (2)
- January 2011 (1)
- December 2010 (2)
- November 2010 (2)
- July 2010 (3)
- June 2010 (2)
- April 2010 (1)
- March 2010 (1)
- February 2010 (2)
- January 2010 (1)
- December 2009 (2)
- October 2009 (4)
- March 2009 (1)
- December 2008 (1)
- November 2008 (1)
- August 2008 (1)
- April 2008 (1)
- March 2008 (1)
- February 2008 (1)
- June 2007 (1)
- November 2005 (1)
- April 2005 (1)